Final Project
Soft Speaker References + Info
Care Processing Unit, Liza Stark
“an interactive quilt embedded with reconfigurable textile speakers, each one storing an audio remembrance.“
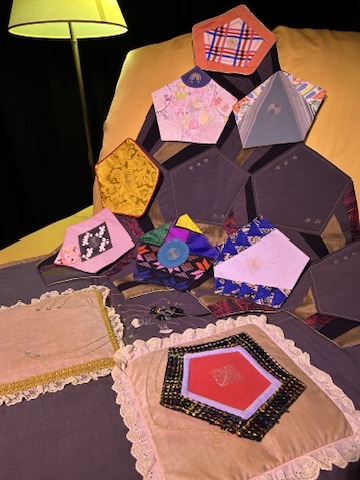
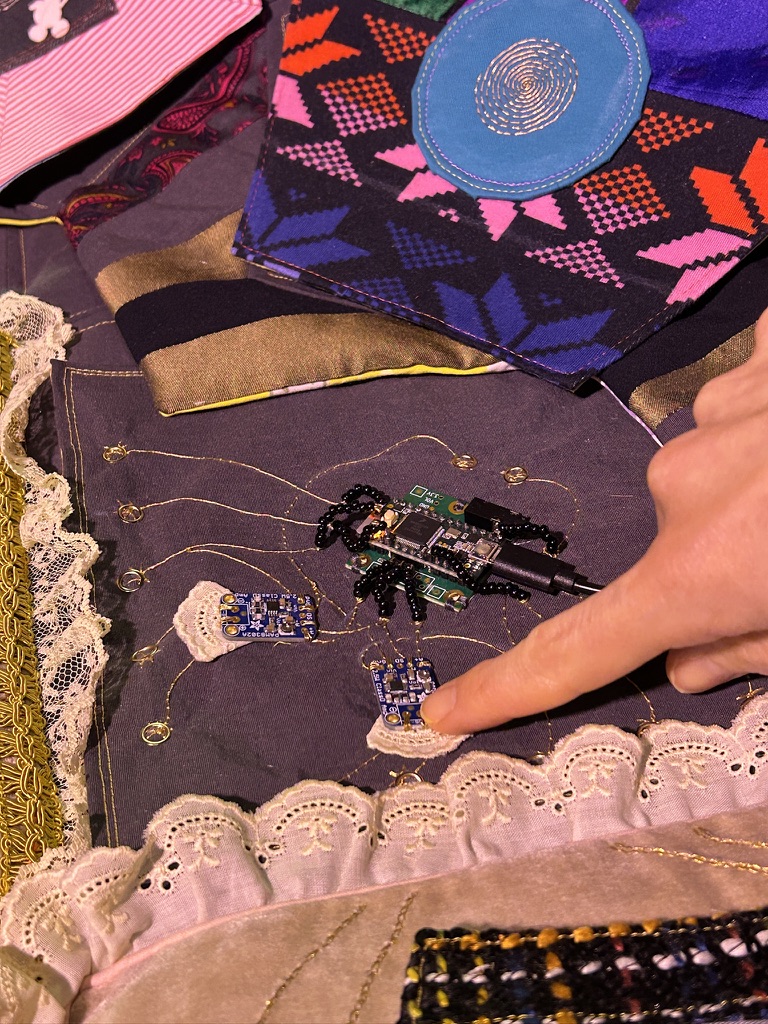
I like that the components of the quilt are modular - and the embroidery is beautiful. She used beads to insulate conductive thread.
Jess Rowland
This artist has done many projects with flat speakers - mostly using copper paper. This one is so cool - it’s a flat speaker and you can choose where to play sound from by holding a magnet over it.
Broderies Sonores, Claire Williams
Instead of playing an audio file, this artist uses the vibration of the fabric with round magnets to create sound.
KOBAKANT
- Fabric Speakers: examples with conductive thread + fabric
-
Embroidered Fabric Speaker Kit: explanations and diagrams of how it works
-
Process: more examples and process info
-
Another diagram and tutorial
Flat spiral coil inductor calculator: not totally what this does but it looks like it might be helpful in the future
First Attempts
I found out too late that the shop does not have the board I amplifier I need, so I could not set up an actual soft speaker. I could, however, start making the fabric part. I worked with what I had at my desk.
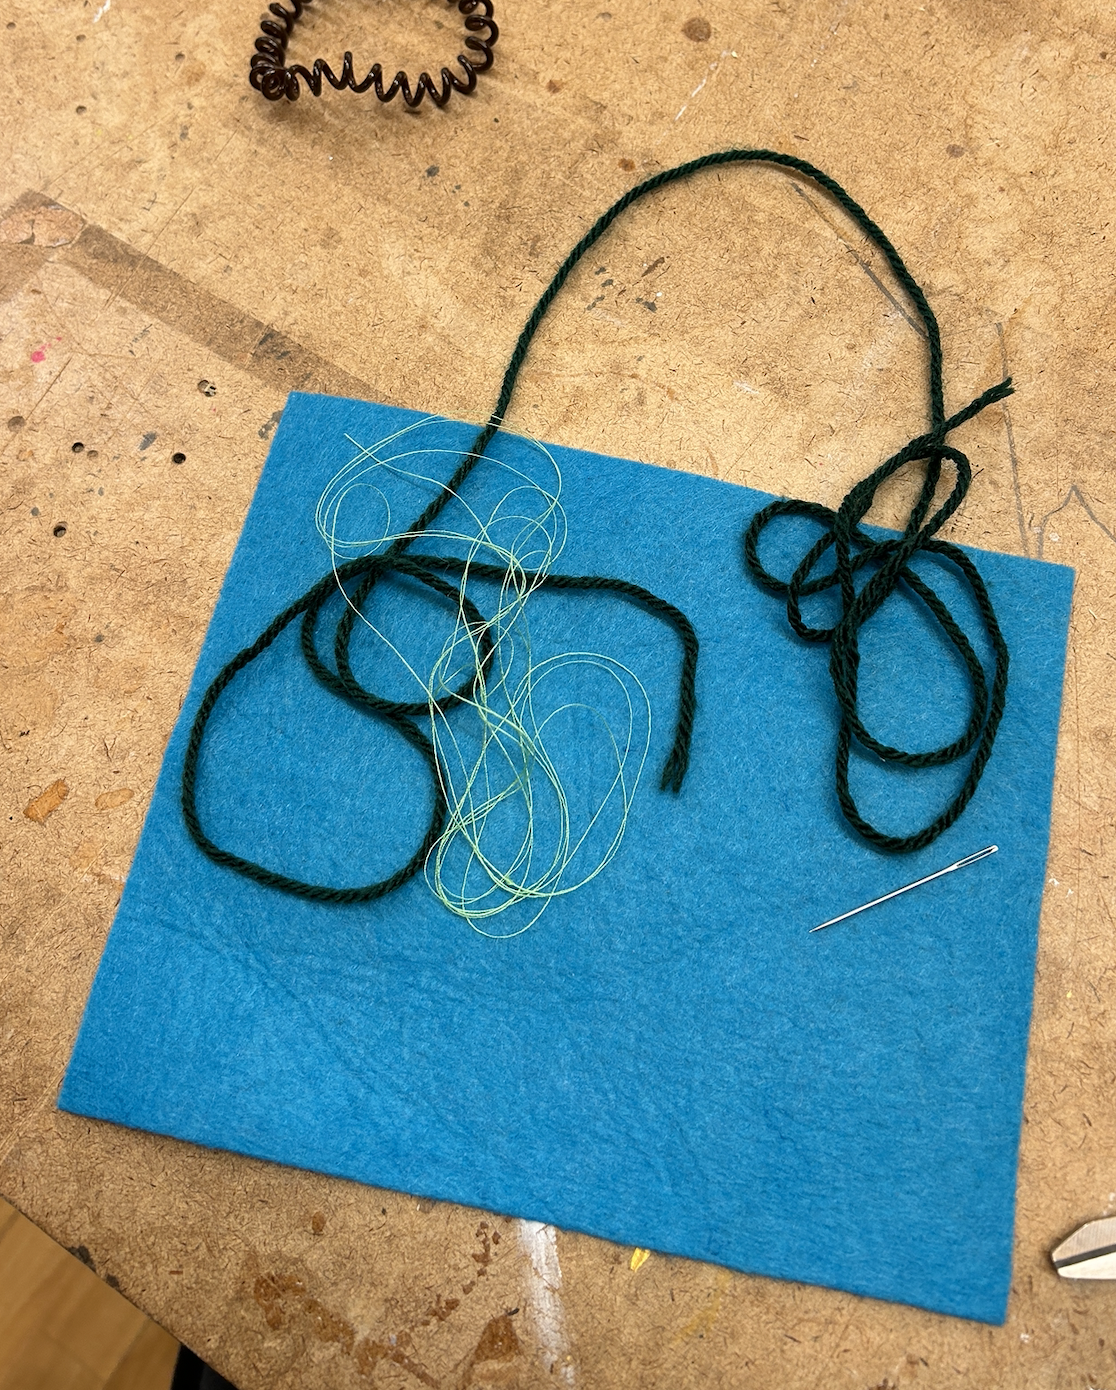
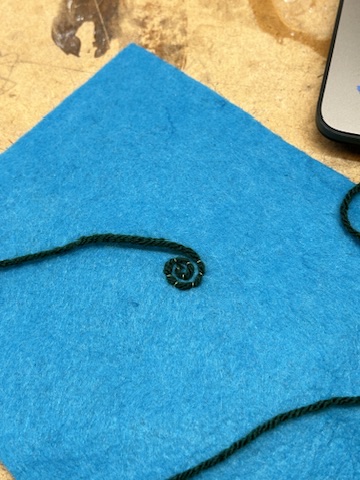
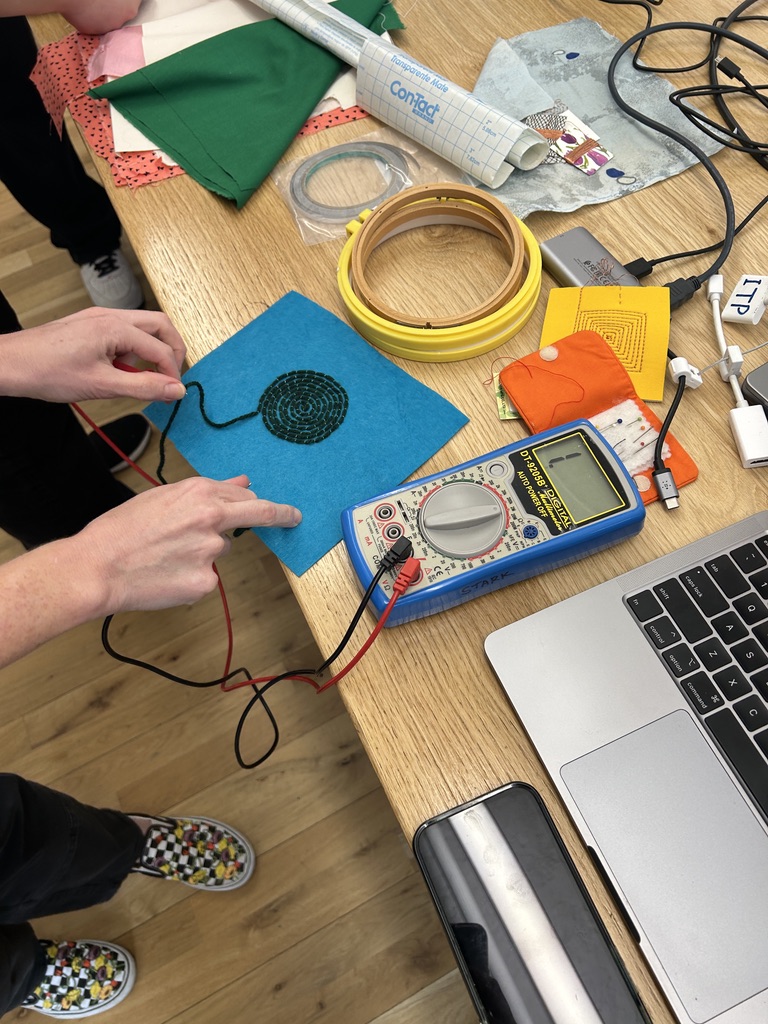
Conductive yarn on felt
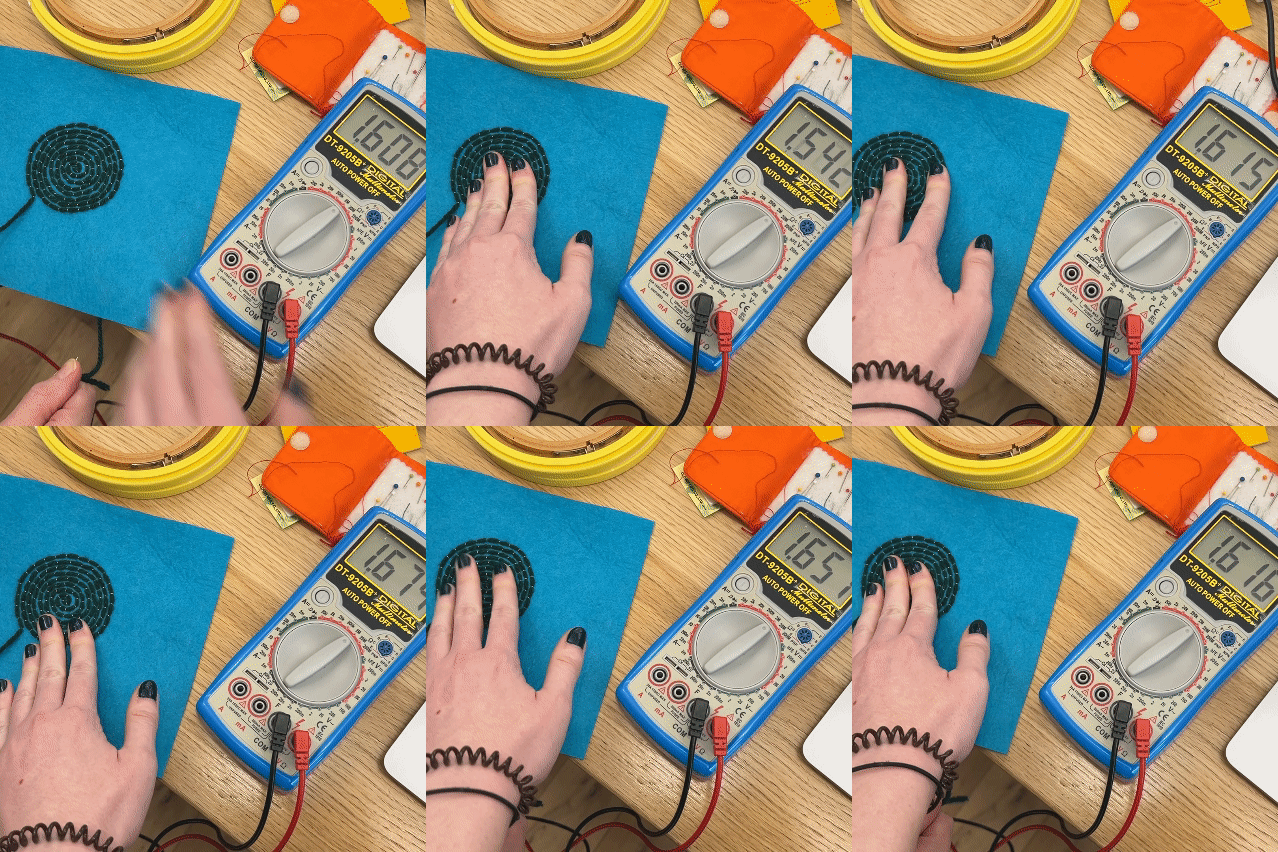
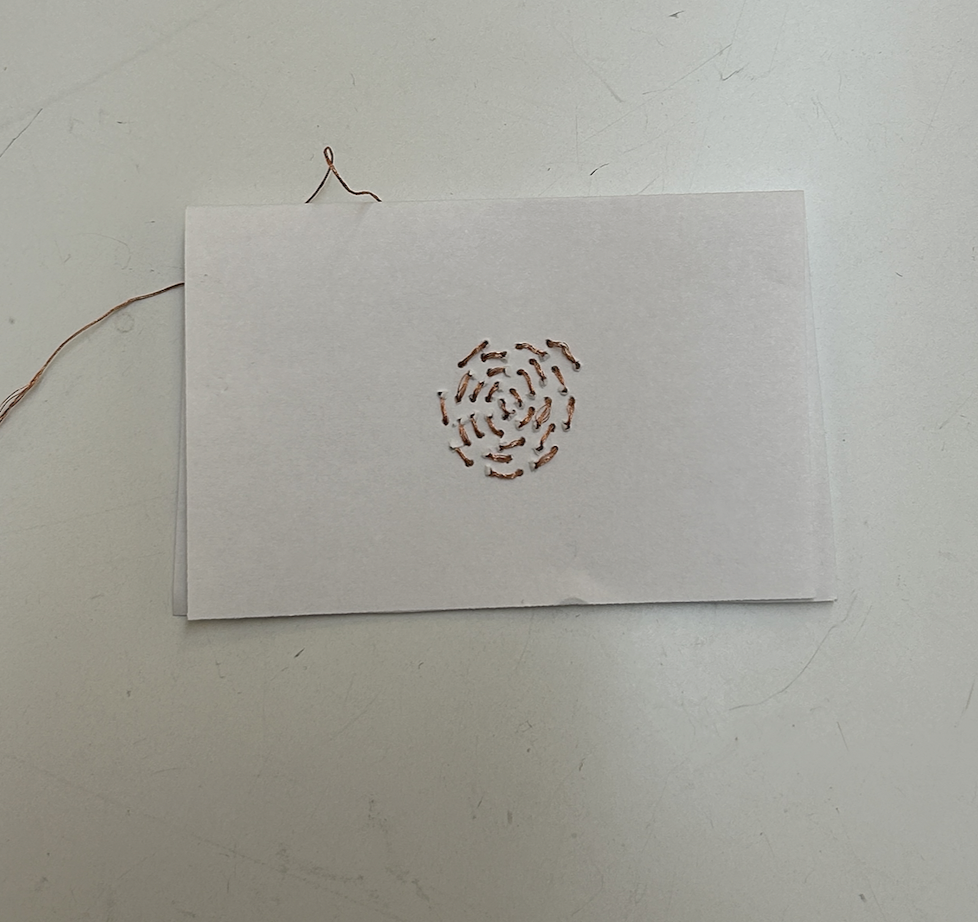
I used the yarn that I put in the polysense bath 2 weeks ago to make the spiral. I tried to make it as tight as I could, and used couching stitches with some sewing thread. This took way longer than anticipated.

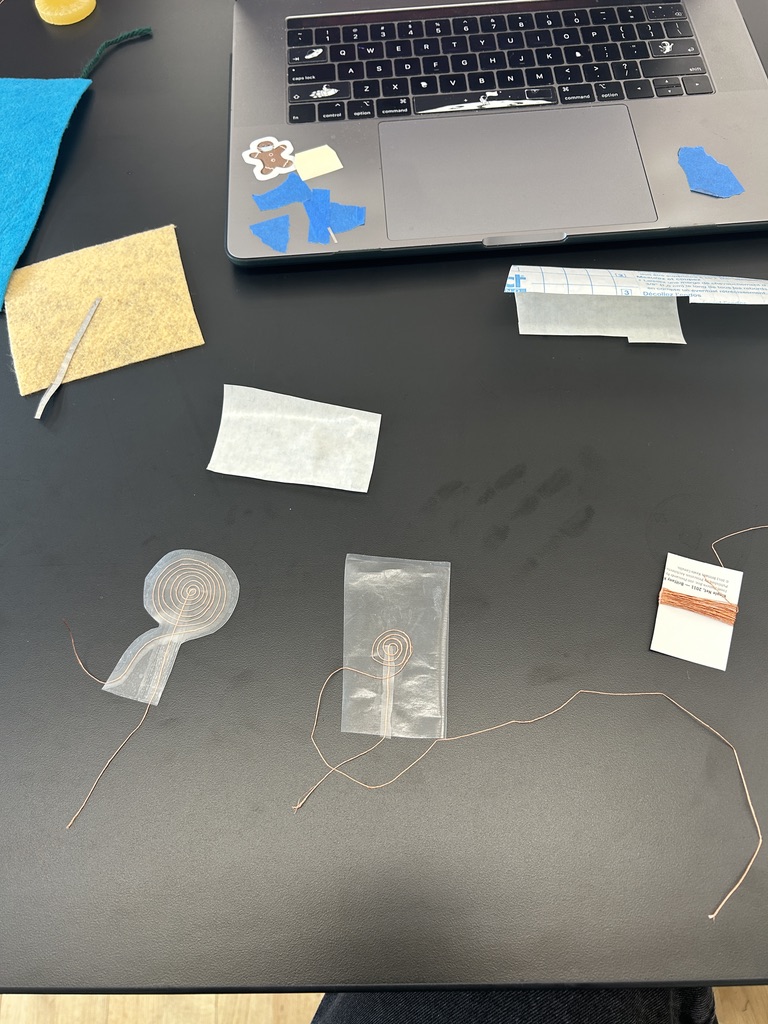
Adhesive conductive fabric on felt
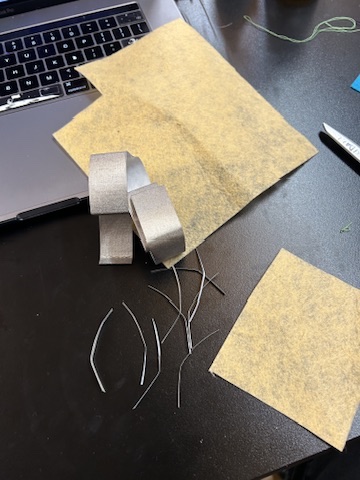
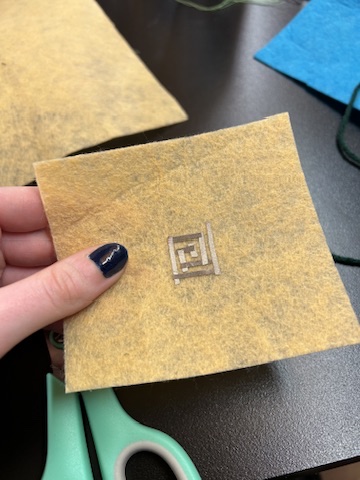
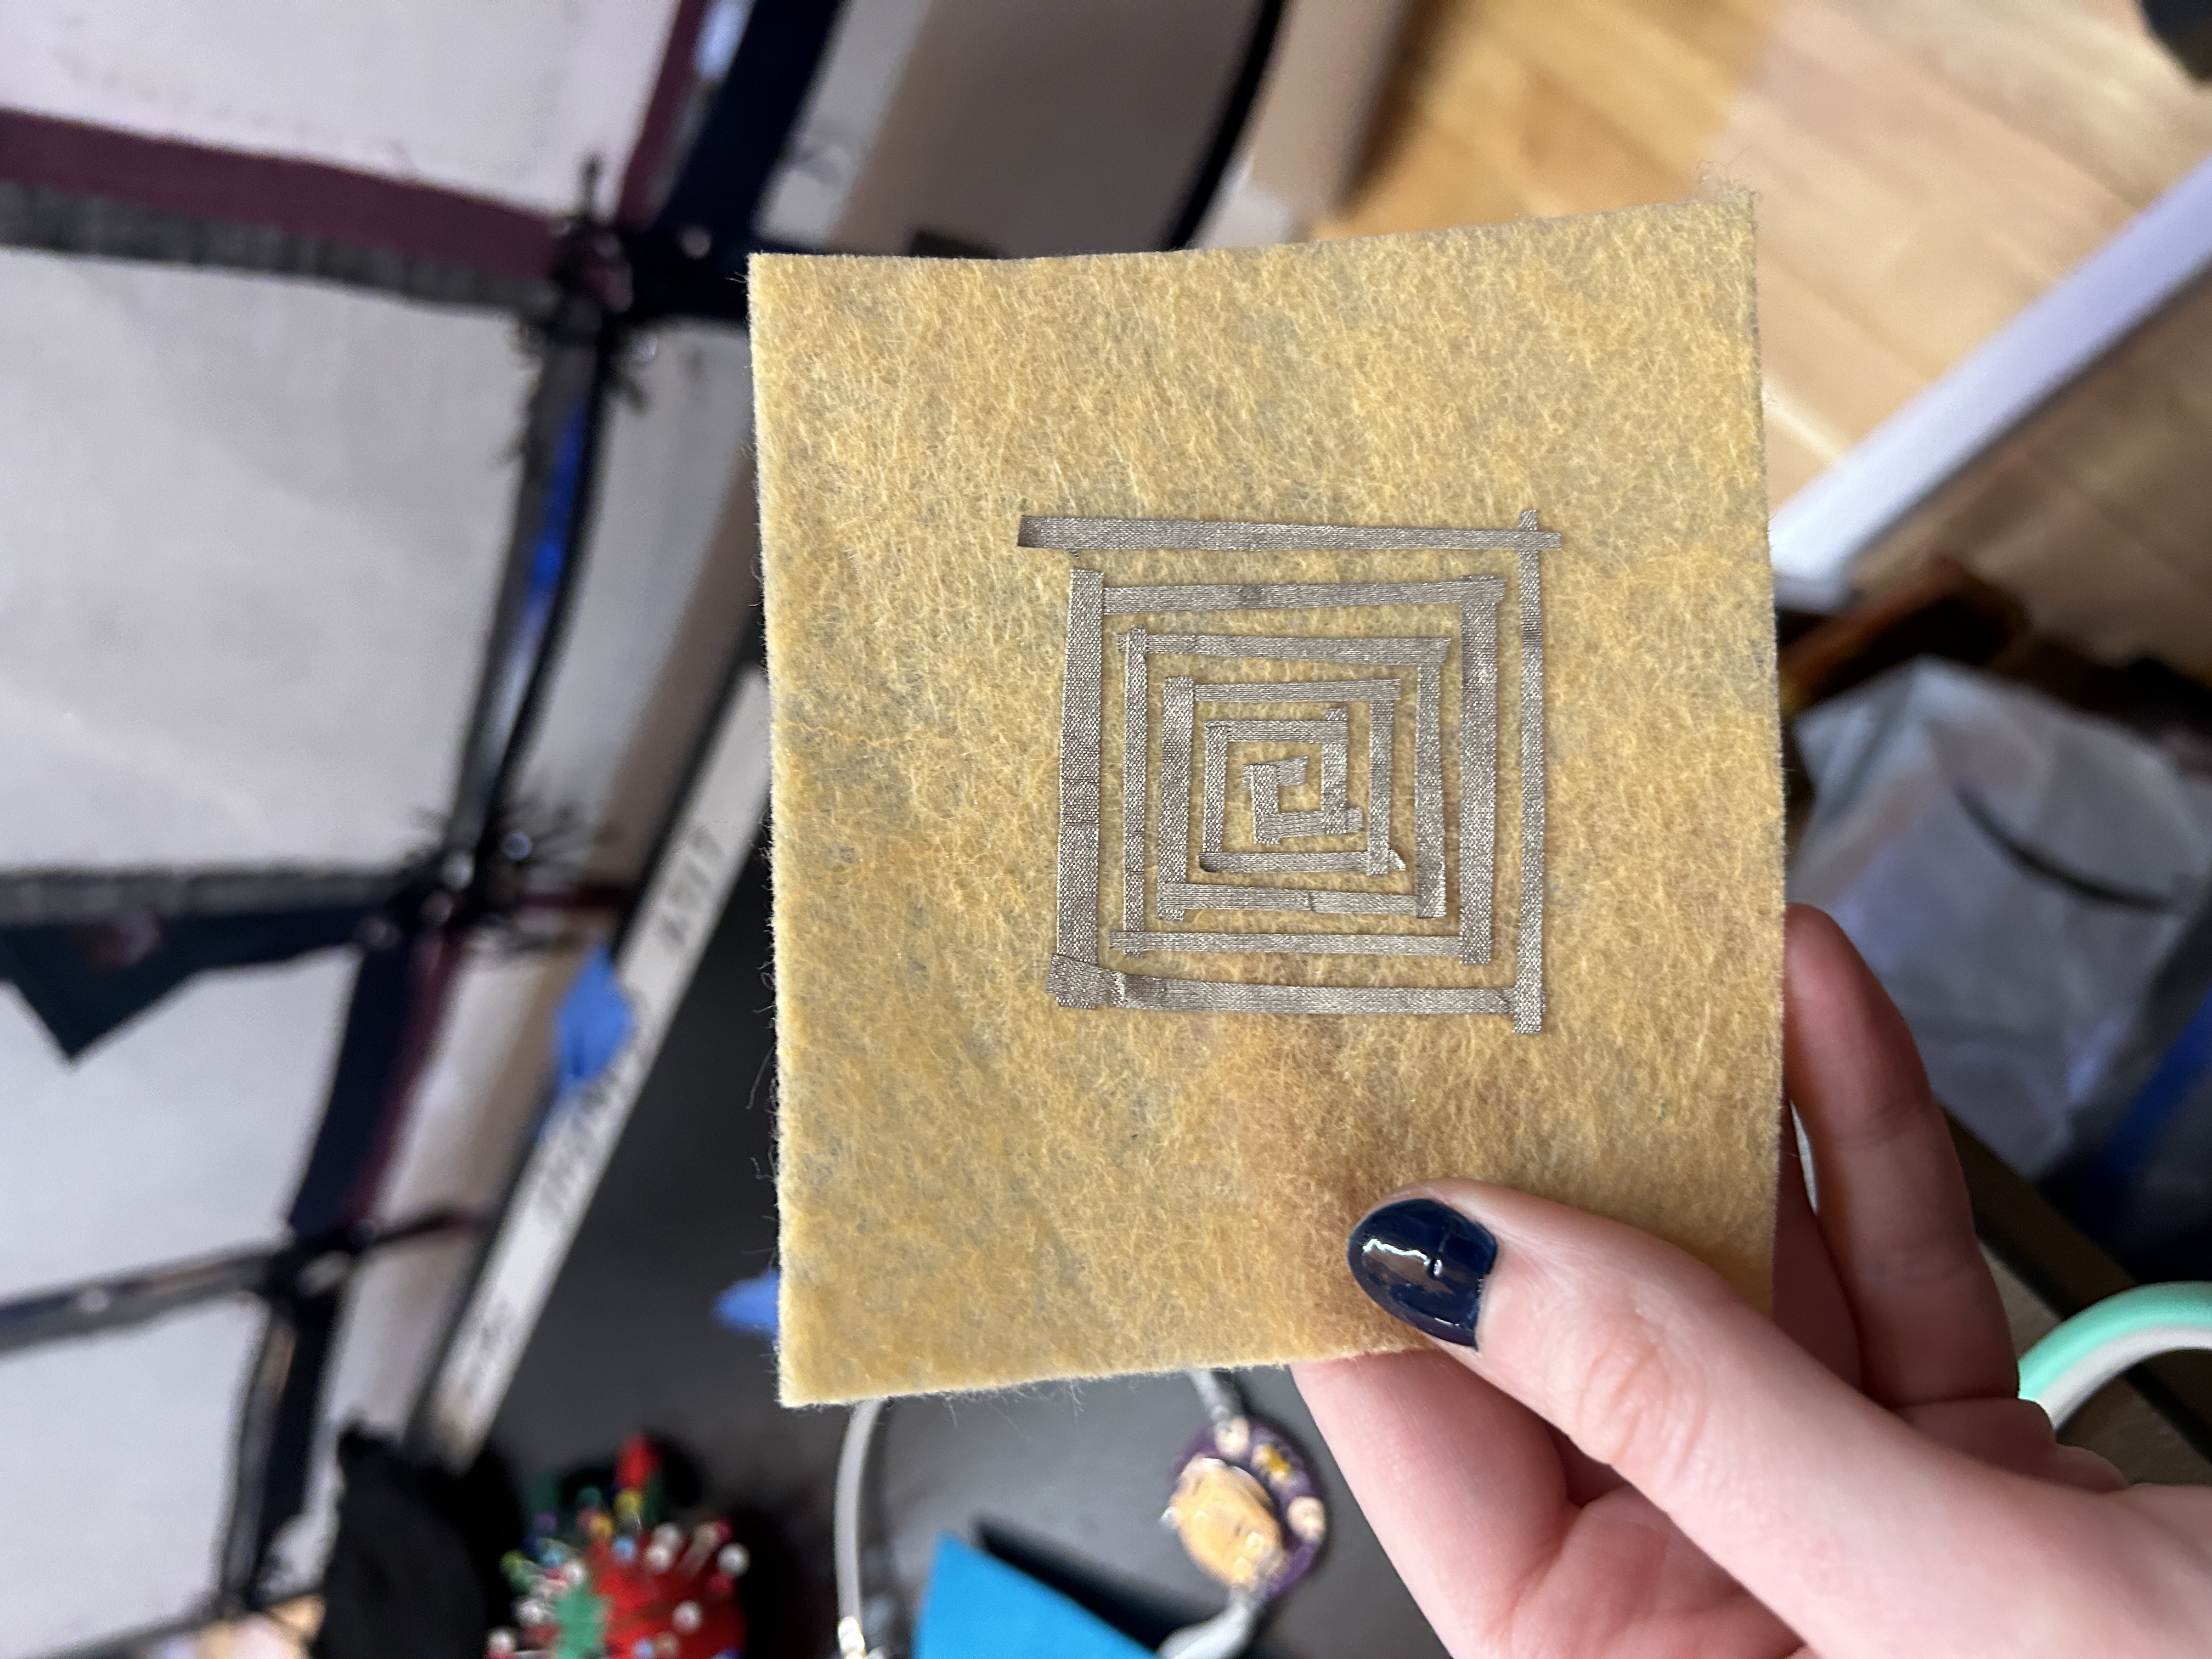
I’ve had a bunch of this adhesive conductive fabric at my desk forvever and wanted to find a way to use it. I cut it into tiny strips and created a rectangular spiral out of it. Not really sure how well this one will work.
In-class workshop
I brought both of the above speakers to class to test out but neither of them worked. The yarn had too much resistence, but it worked as a sensor. The tape one just didn’t work at all. Not really sure why but it might have something to do with the connections between each corner.
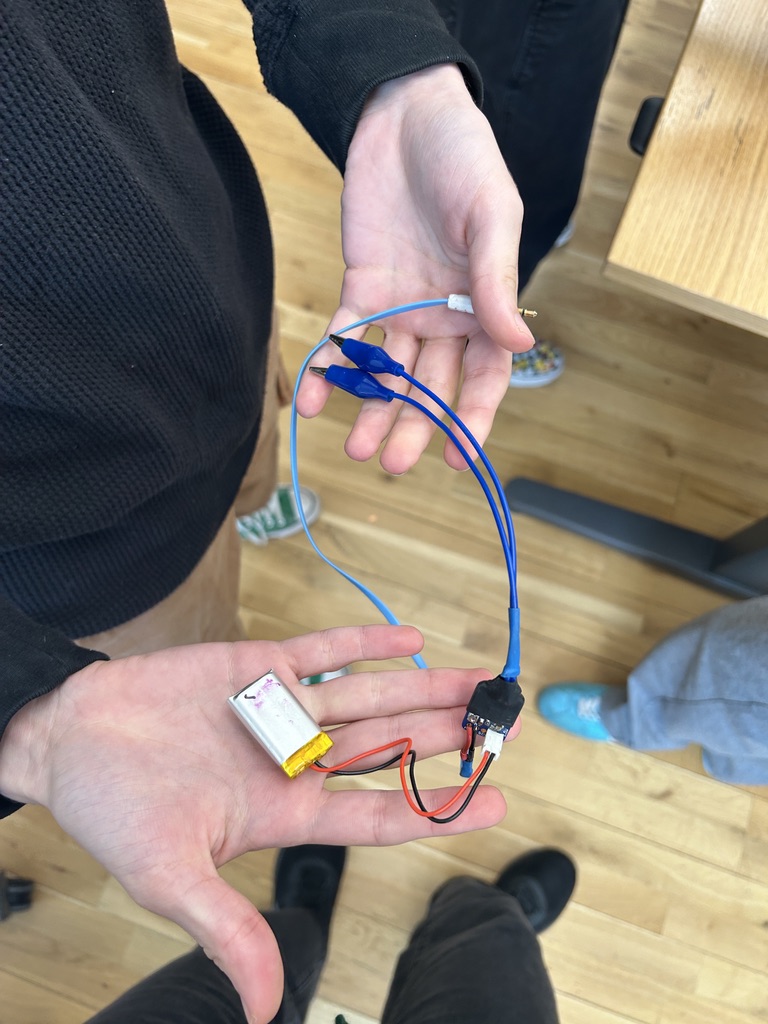


Day 1: making the circuit + first experiments





Day 2: debugging + weaving
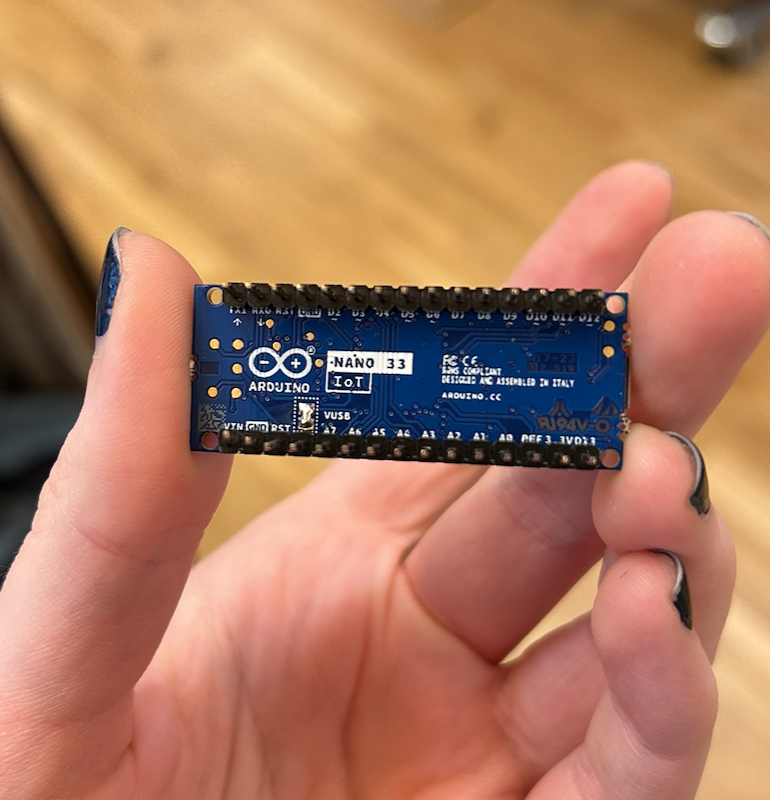
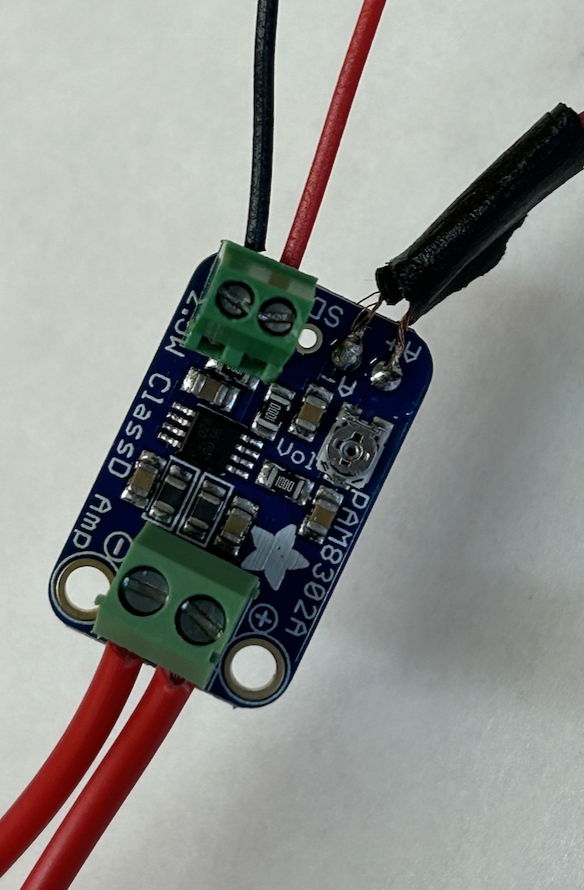
I emailed Kari asking for advice about the popping noise - she said those kinds of noises are usually a current problem. I reconstructed the circuit, used alligator clips to connect the audio jack to the breadboard instead of sticking the stranded wire straight in the breadboard, and used a breadboard to mount the amp instead of having it off the board. I also changed the power back to 3.3v instead of 5v. This worked (for a little while...).
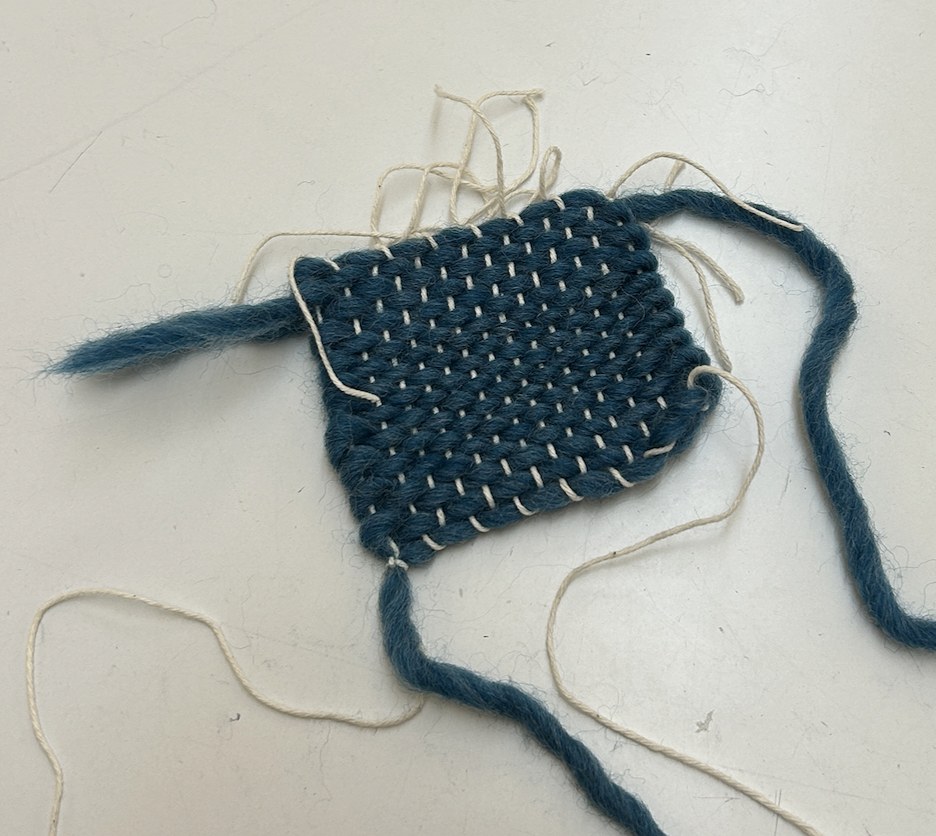
Woven speaker #1
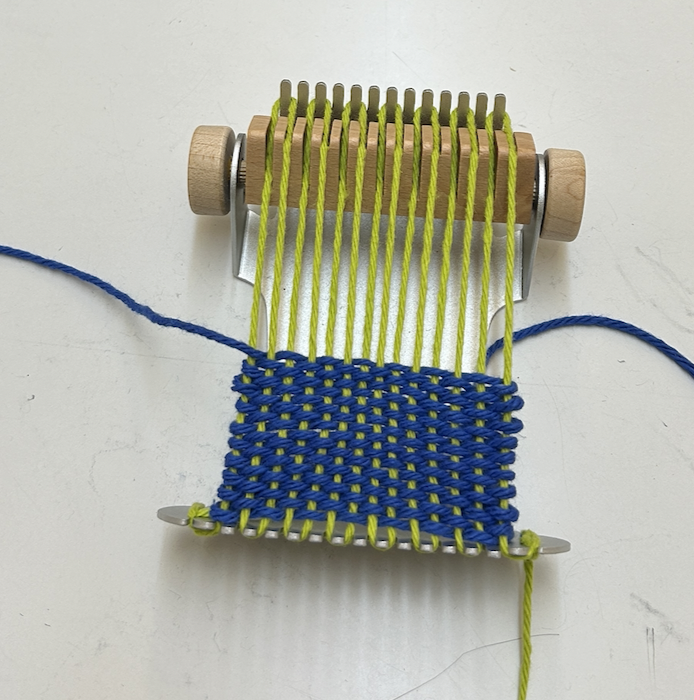
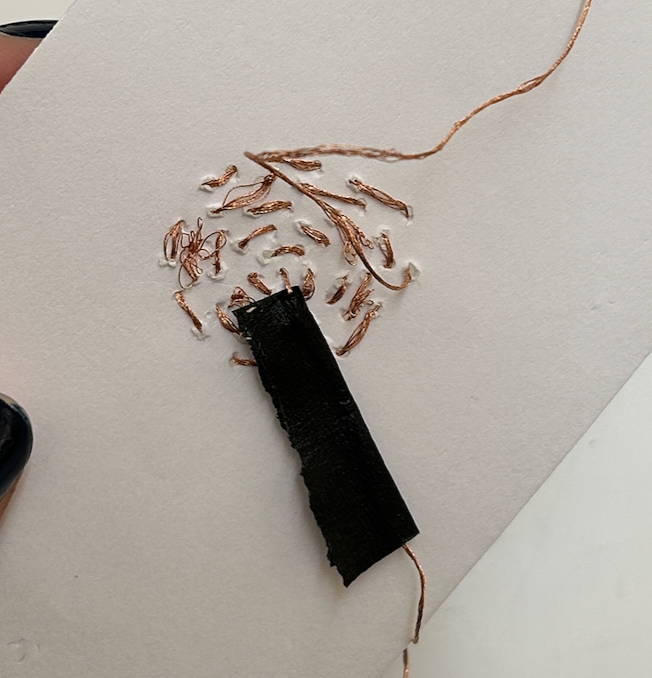
I then tried weaving, using this adorable mini loom I got as a present but hadn’t used it. My hope was that the increased tension and fewer holes would create a good speaker. I used the cotton string that came with the kit and teal yarn (not sure of weight or material). I sewed a spiral out of conductive thread once I took it off the loom, using the cotton thread as a guide.
This worked! Not as well as the contact paper one, but it worked.



Woven speaker #2
I then made another woven speaker, but this time I used 2 rolls of cotton yarn (medium weight). Instead of sewing the spiral after taking it off the loom, I did it while it was still attached. I tested it while it was still on the loom, predicting that the tension would make it better than the first one I made. Sadly, I just heard that popping noise. Not really sure why.

Crochet speaker
Using a 4.5 mm hook and the same medium weight cotton yarn, I crocheted a small circle. I sewed a spiral using conductive thread, trying to keep it as tight as possible. This worked out much better than I expected!
