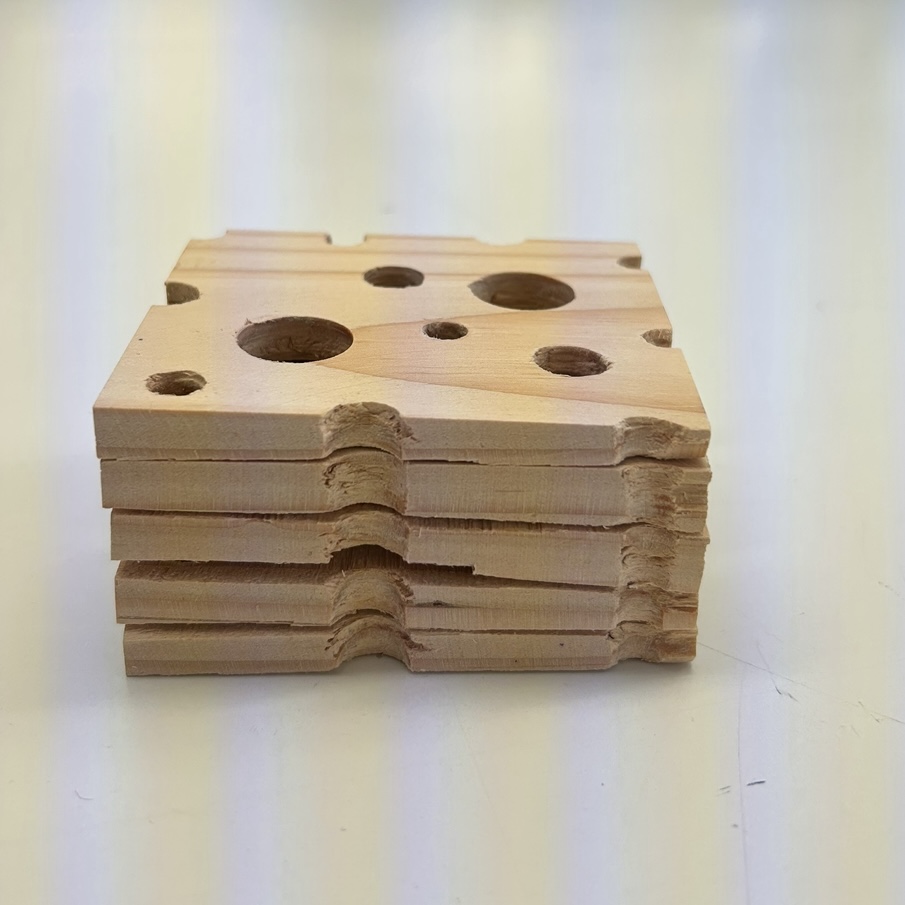
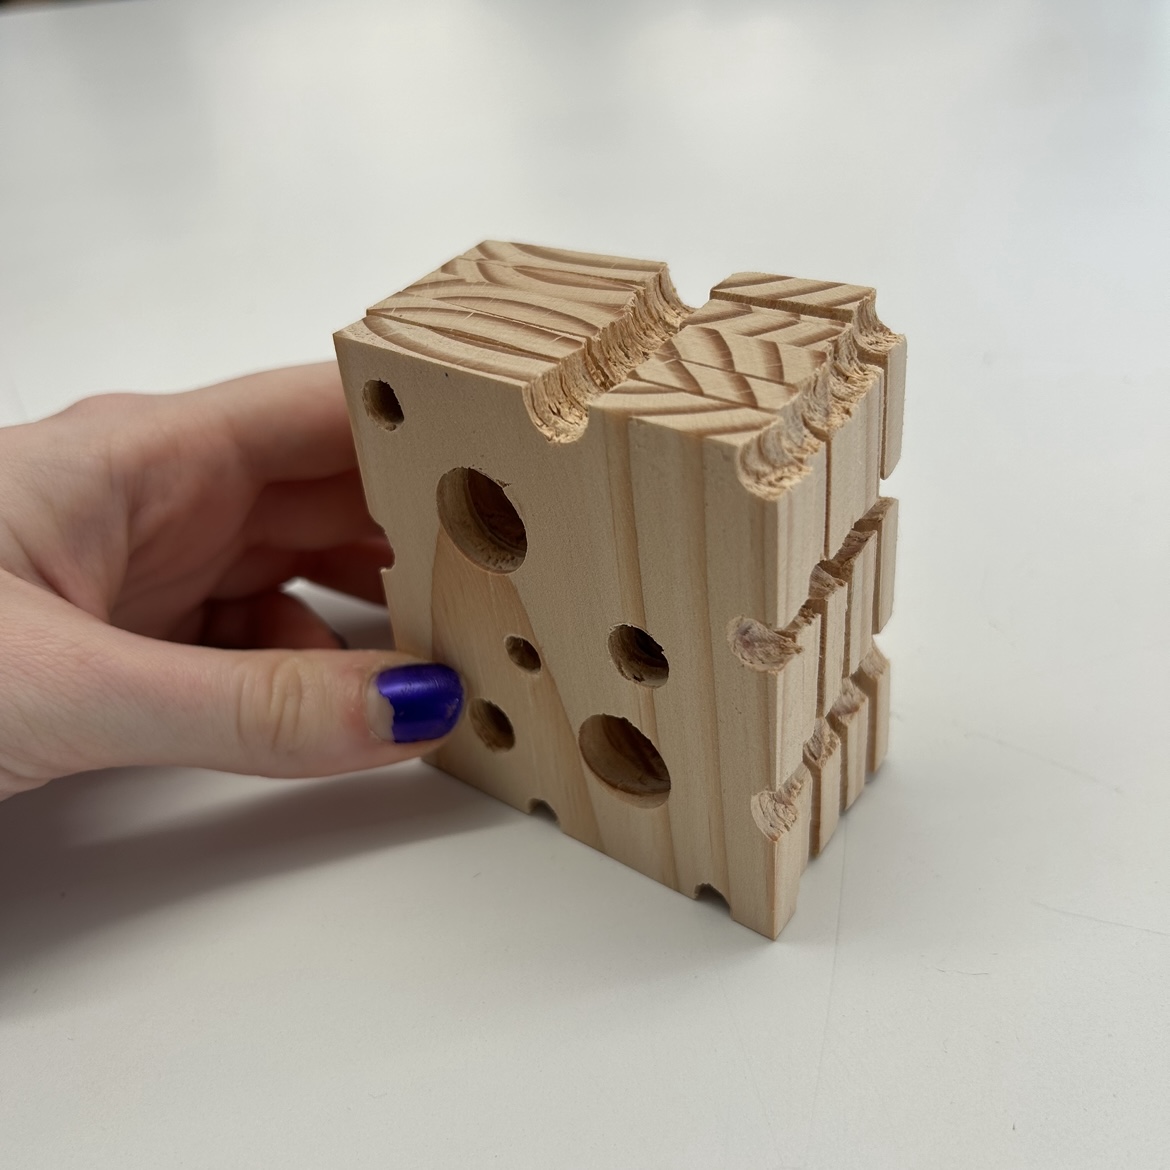
WEEK 1: 5 SLICES OF SWISS CHEESE
Continuing on my food theme, I present “5 slices of swiss cheese.”
DAY 1:
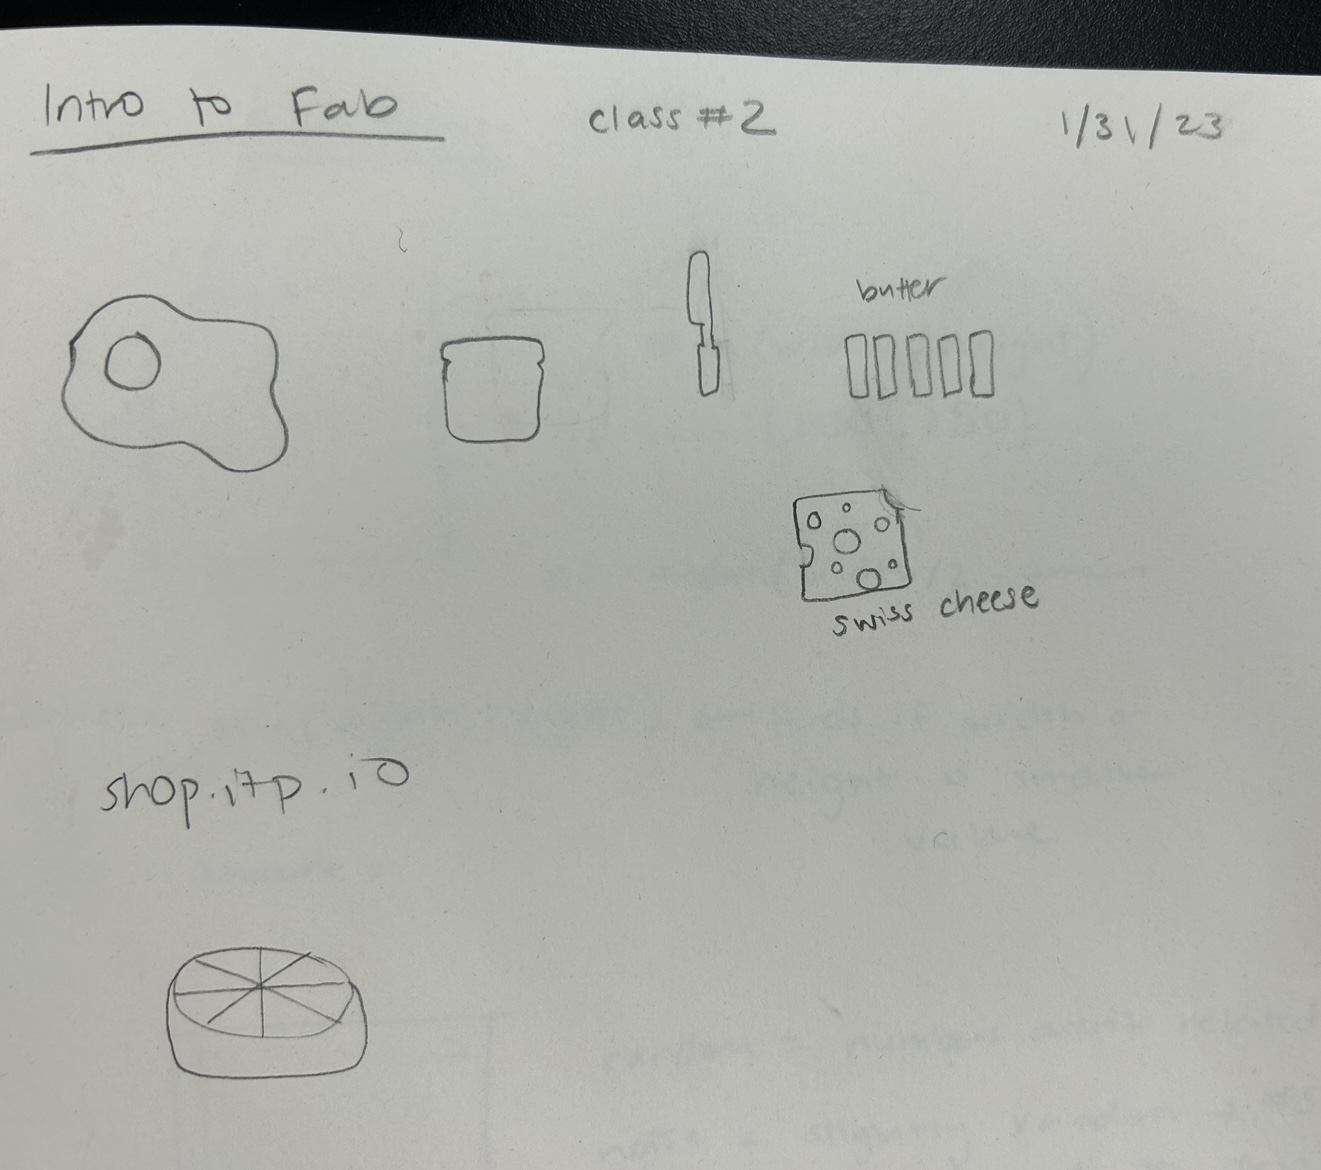
I decided to stick with “food” as my theme. I drew food-related things that I thought I could make out of wood and replicate relatively easily. I decided to go with the swiss cheese. The plan was to take a single block of wood, drill a bunch of holes in it using the drill press, and then slice it up into 5 pieces. Easy peasy.
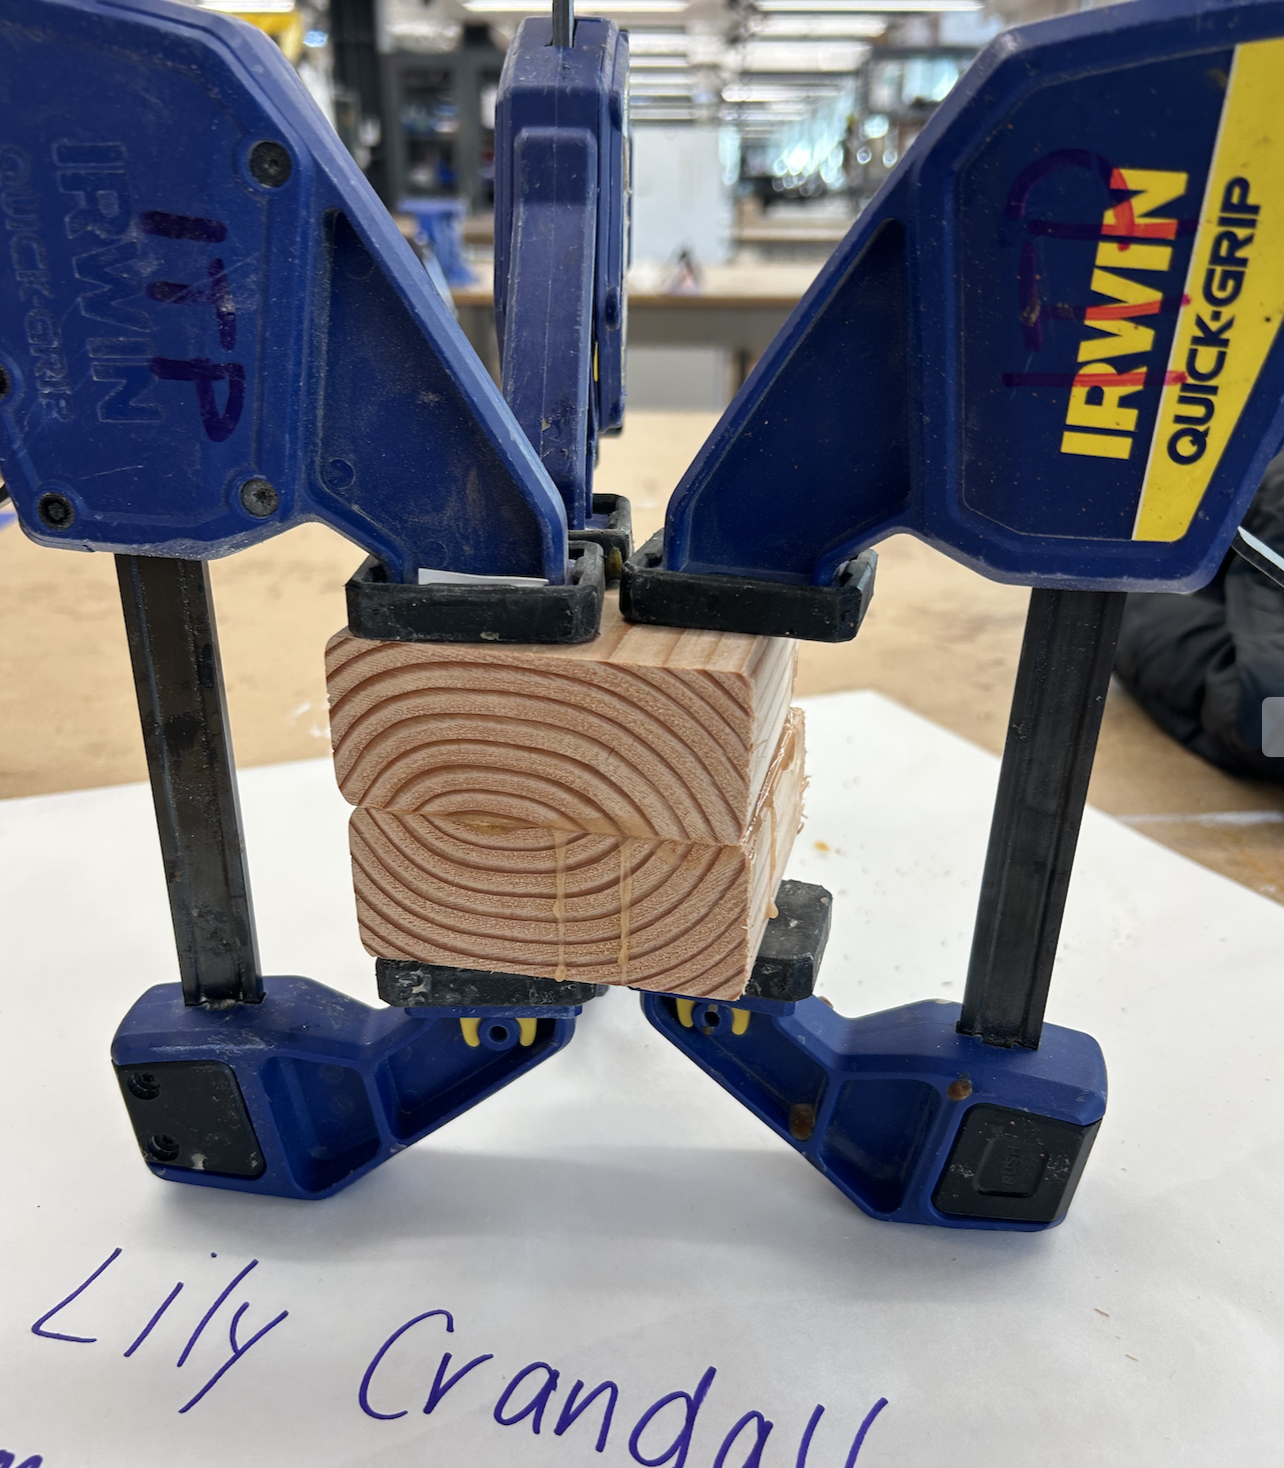
NOT easy peasy. I ran into many issues with this plan. I was worried that the height of the block of wood I would need so that the slices weren’t too thin would be too high for the drill to go through. I also couldn’t find a block of wood in the shop that would work for this. Instead, I found a piece of wood I could cut into squares and clamp together:
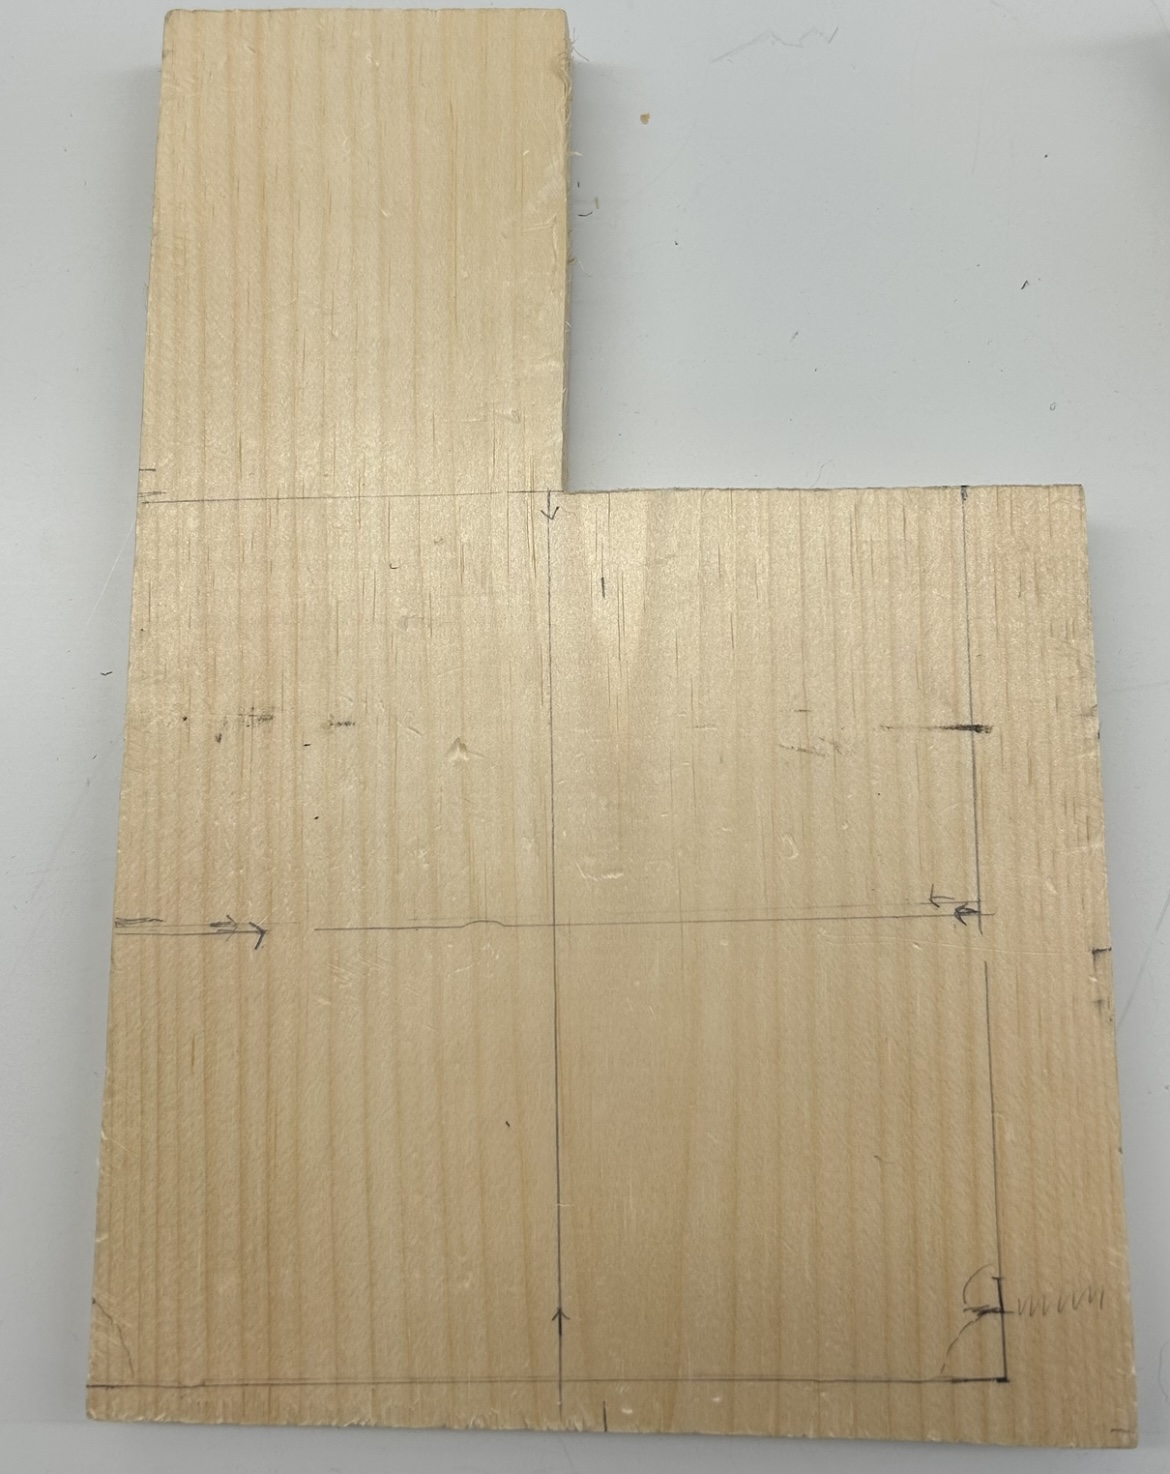
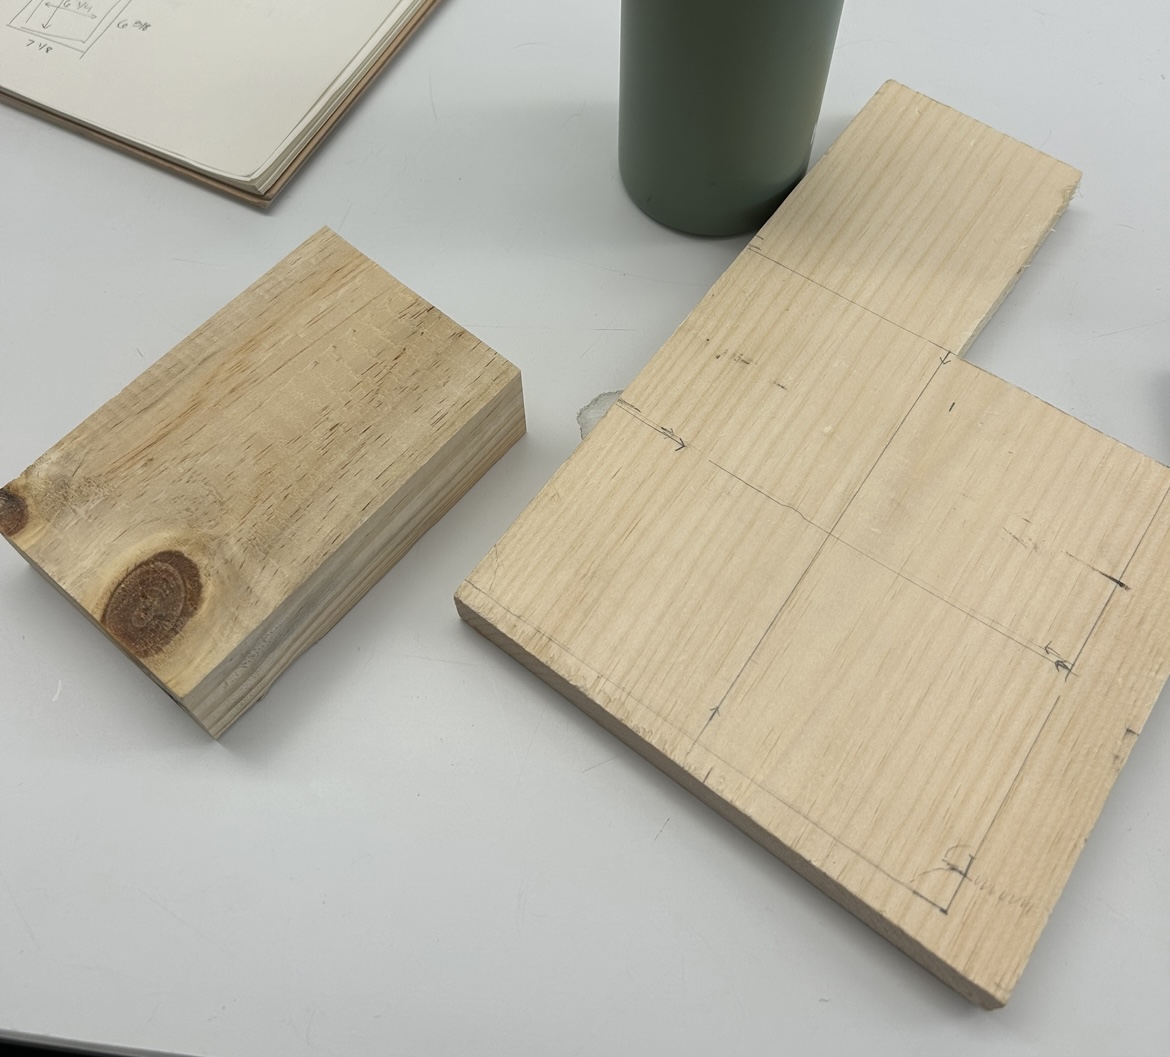
Then I found a block of wood I could use, so I decided to hold off on that plan. First, I cut off the side of the block of wood to make a square, and sanded it down to form right angles. I drew circles on it in the approximate places I wanted to drill holes.
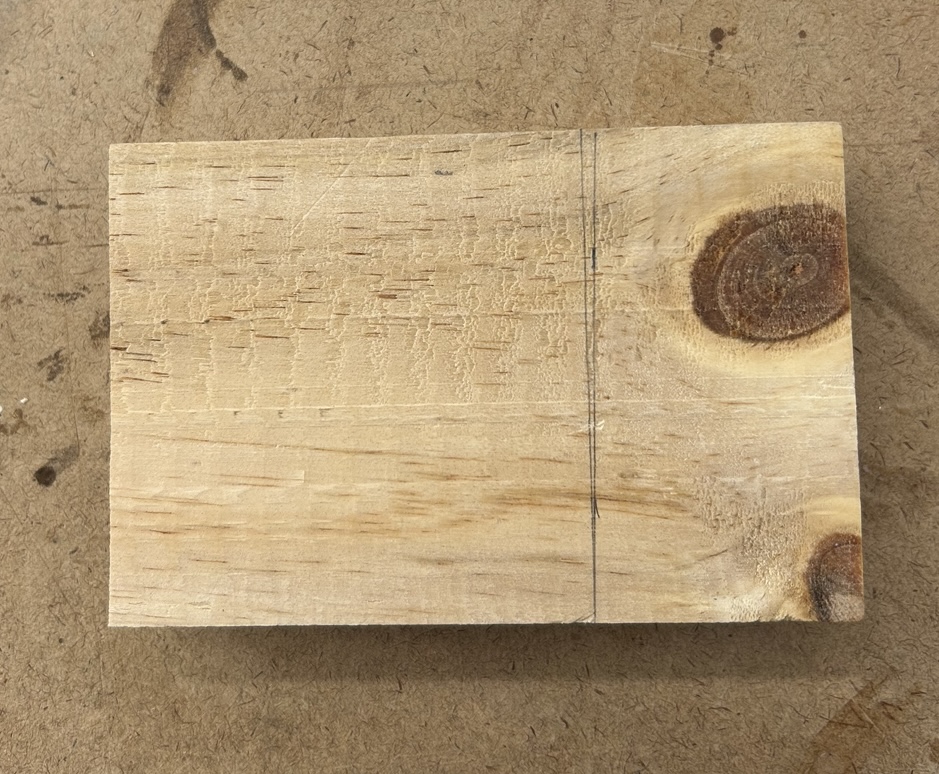


This was going well until I turned it over and saw all of the mess going on on the back. The wood was splintering bad, and I couldn’t afford to slice off that much and discard it, because then the 5 slices would be too small.
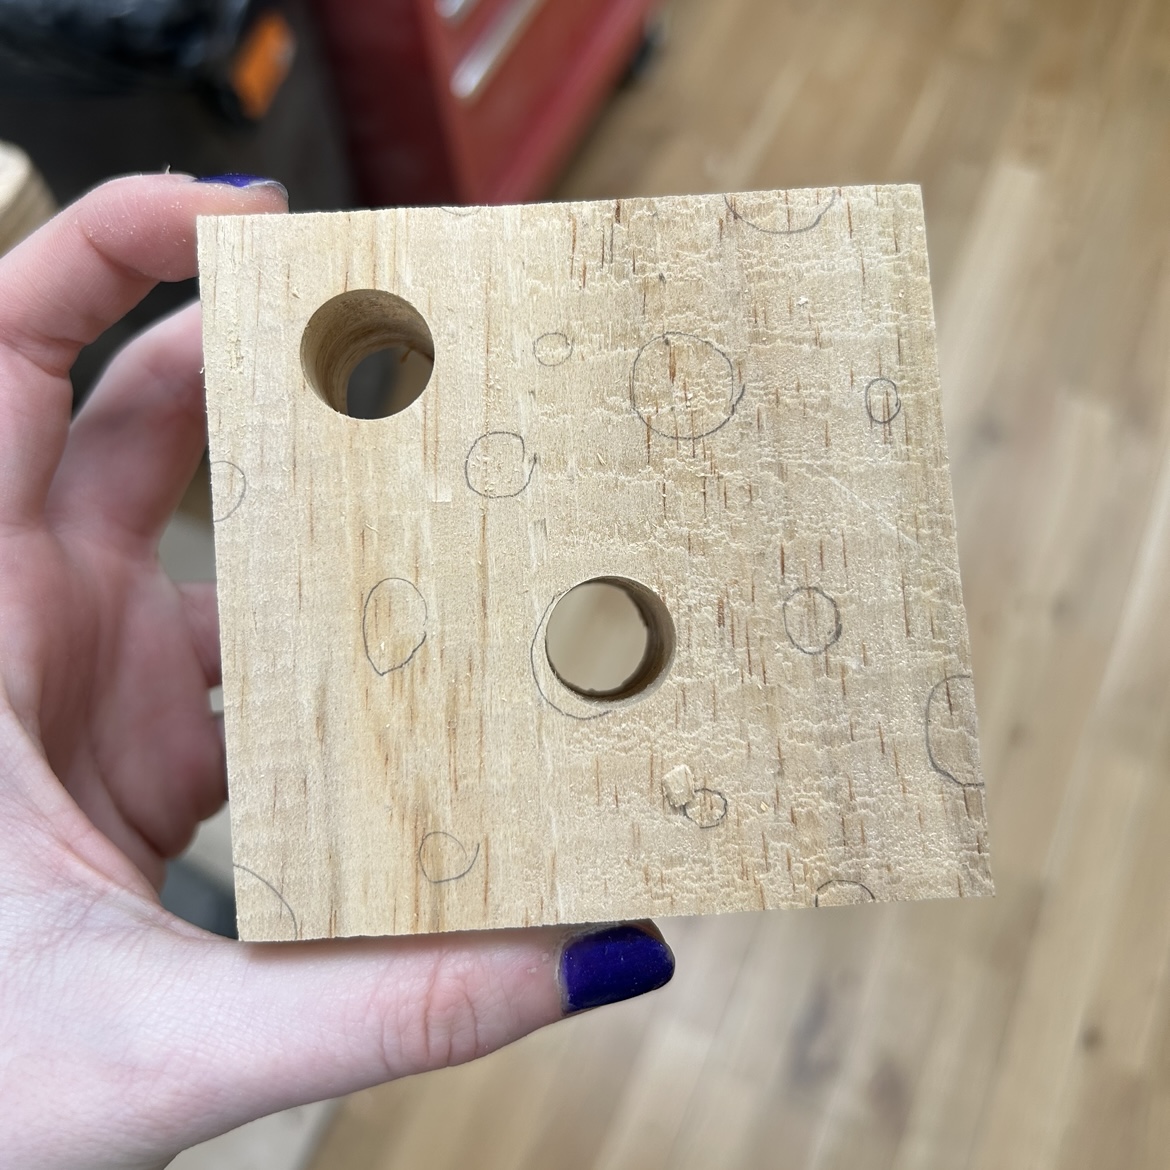

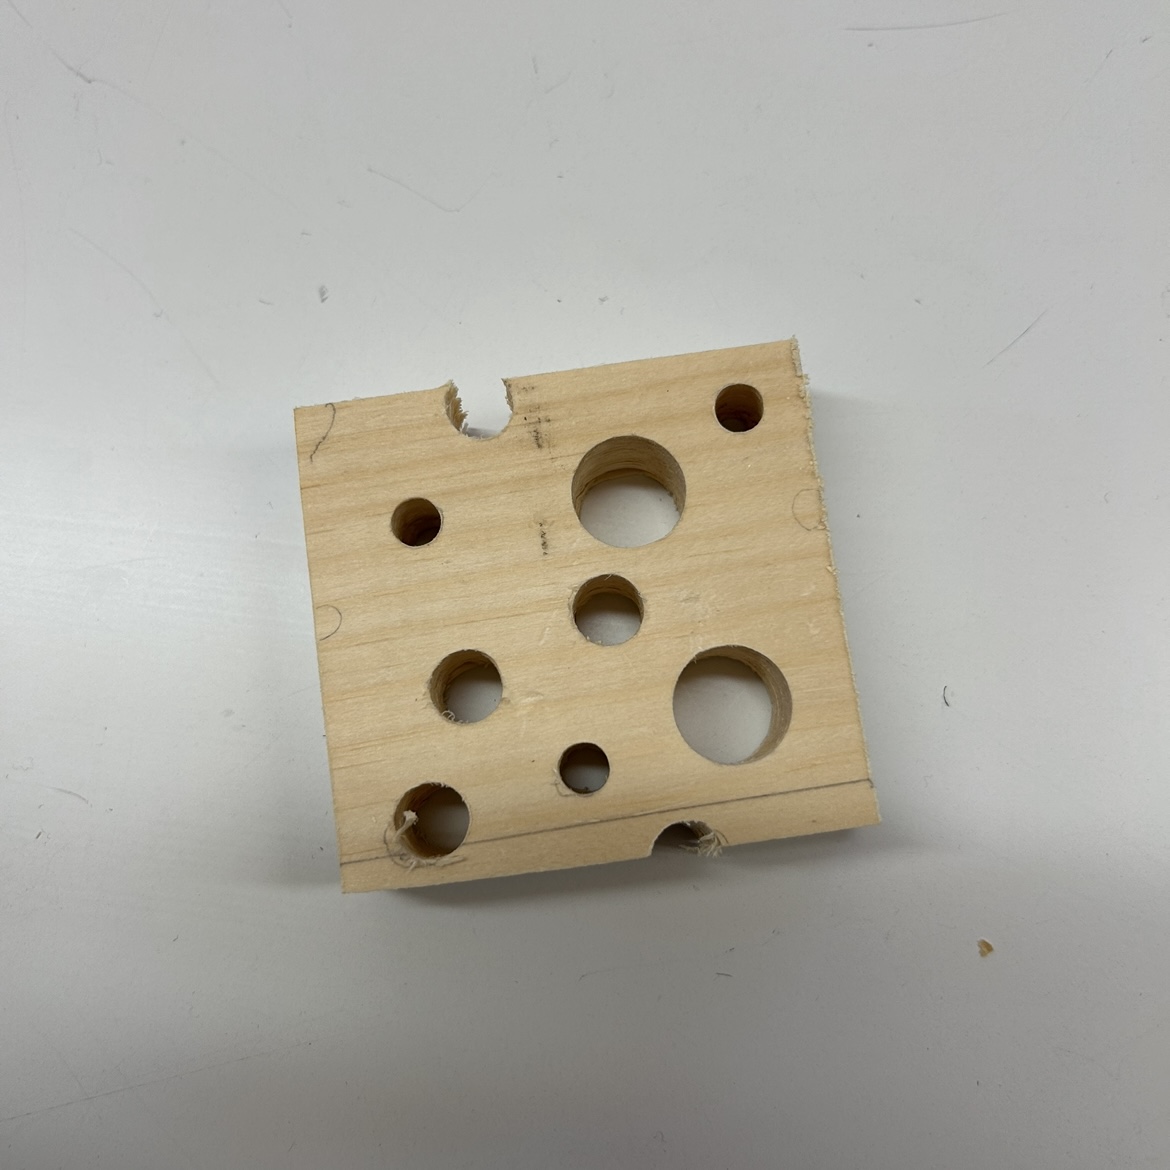
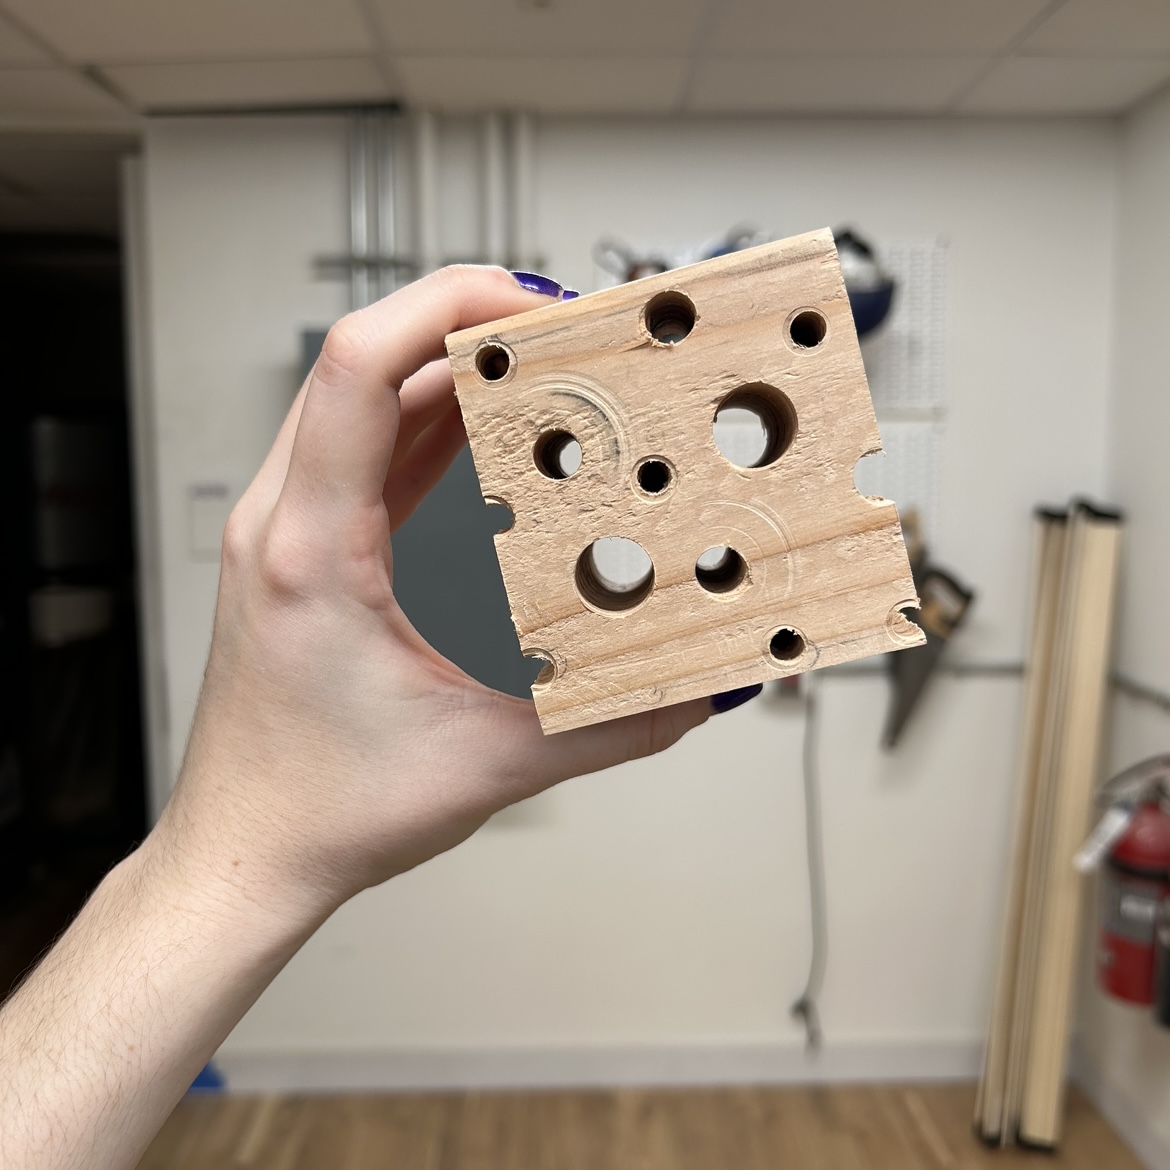
I changed my plan a little. I would keep going drilling holes in this piece and then slice off the top 1/3 or so, and use that as a stencil for the 4 blocks of wood from the original piece I drew the squares on. This is what it looked like when I was done, and after I cut off the top part so only a 1/2 in slice remained. Looks like a slice of swiss cheese to me.

The idea was to use 3 of these 4 blocks, drill identical holes in all of them, and then slice in half so they each produced 2 identical slices of cheese. This gave me one extra in case anything happened. I cut the 4 pieces and realized my math must have been wrong because they came out all sorts of weird sizes. I think it had to do with the widht of the blade on the bandsaw. I sanded them down until they were equal.
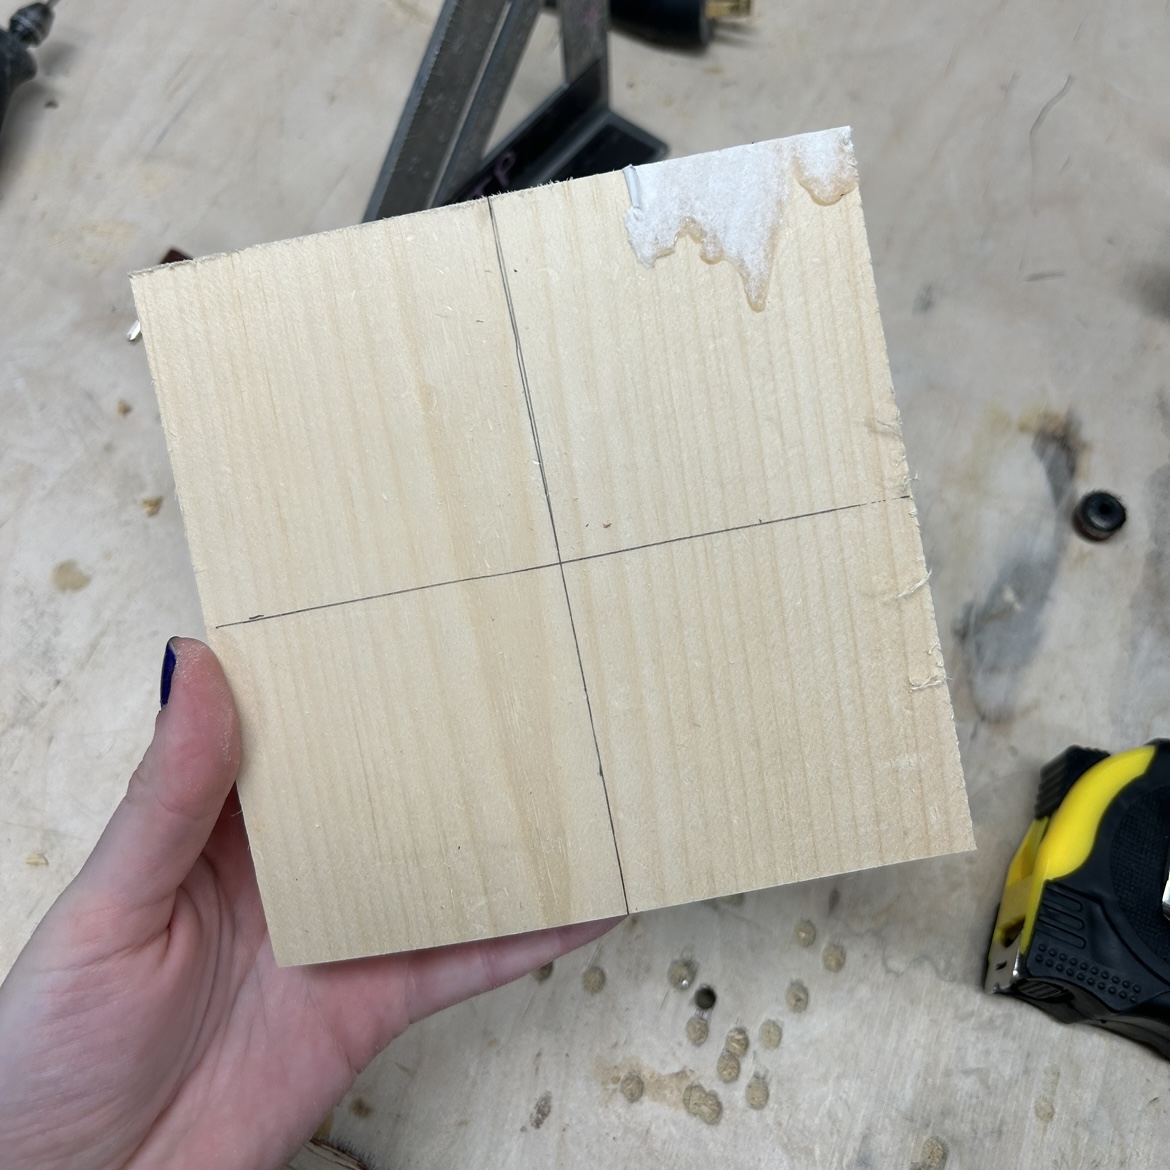
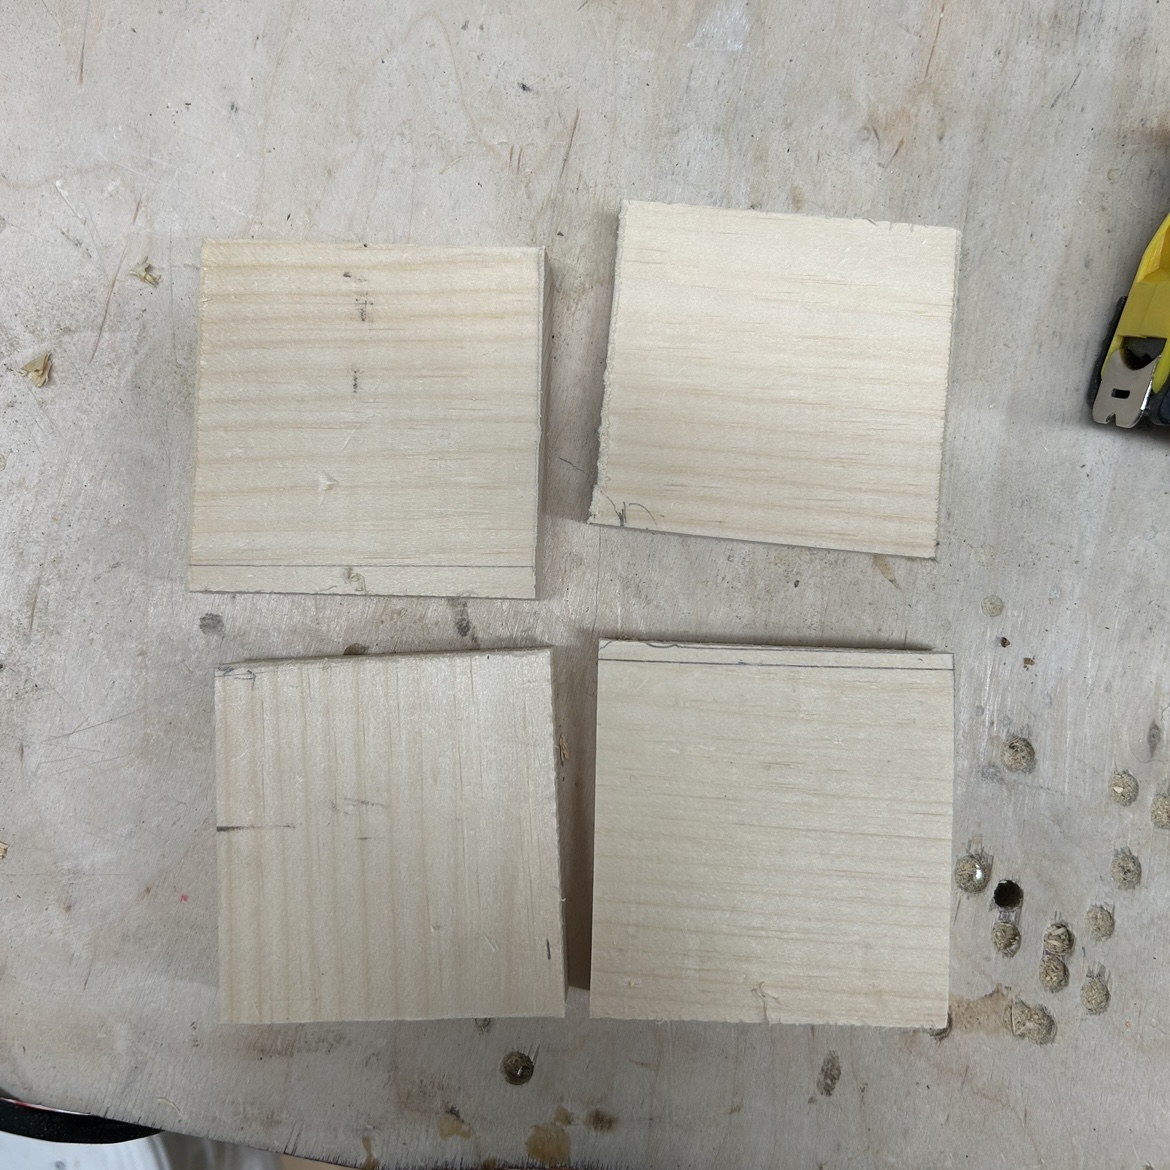

Unfortunately, the same thing happened with these guys as did the first one. There was a ton of splintering on the back, which isn’t going to work for me because i need to use the bottom half for a second slice. Enough for today, I’ll figure out the best way to fix this tomorrow.

DAY 2:
DAY 3:
The first thing I did was sand the edges of the glued block of wo
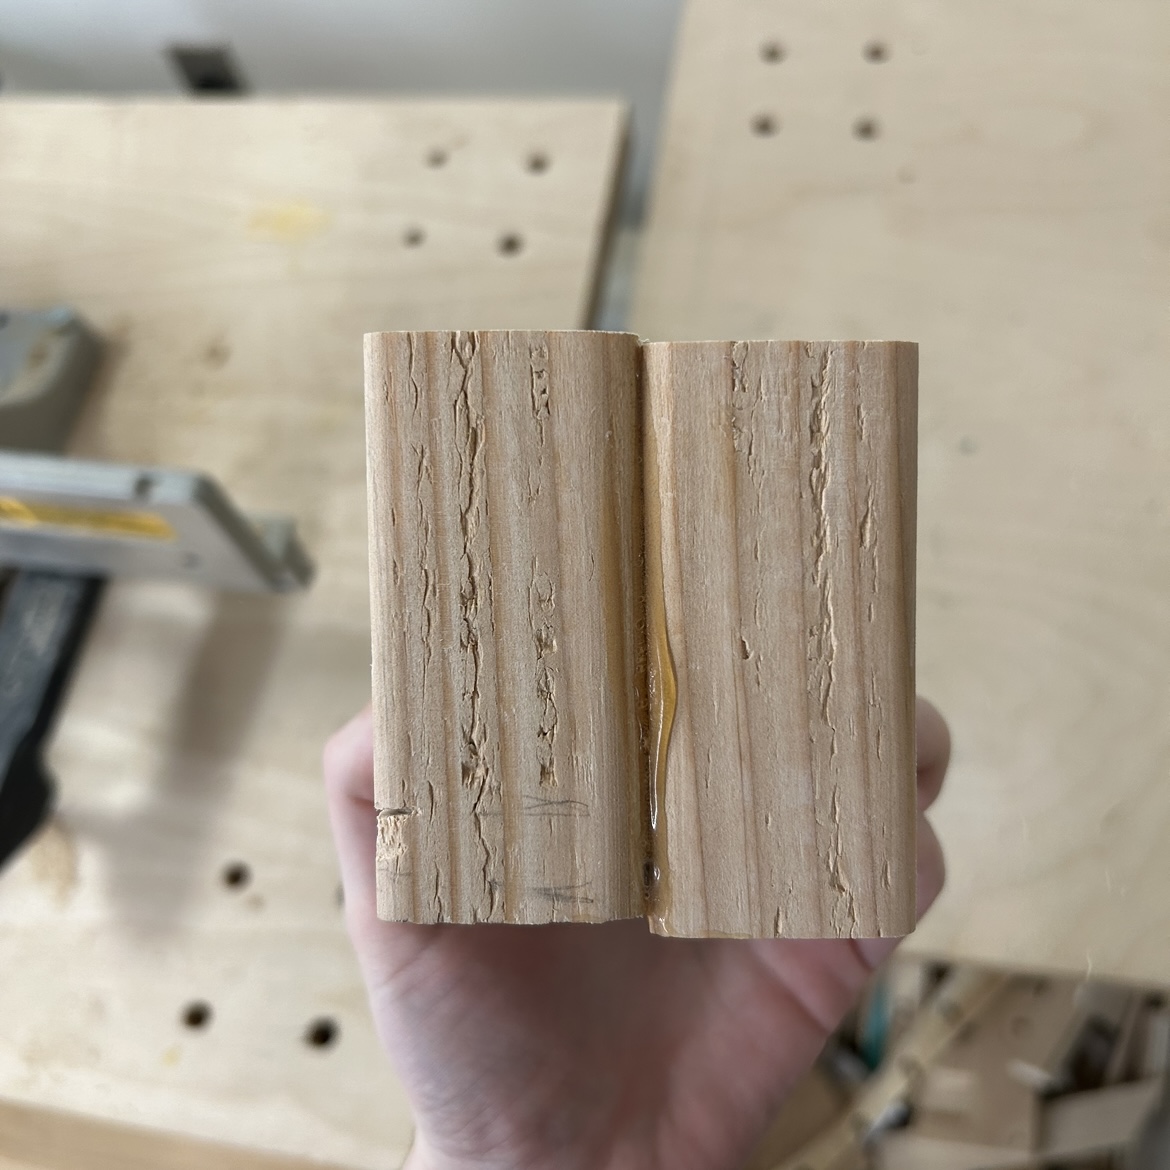
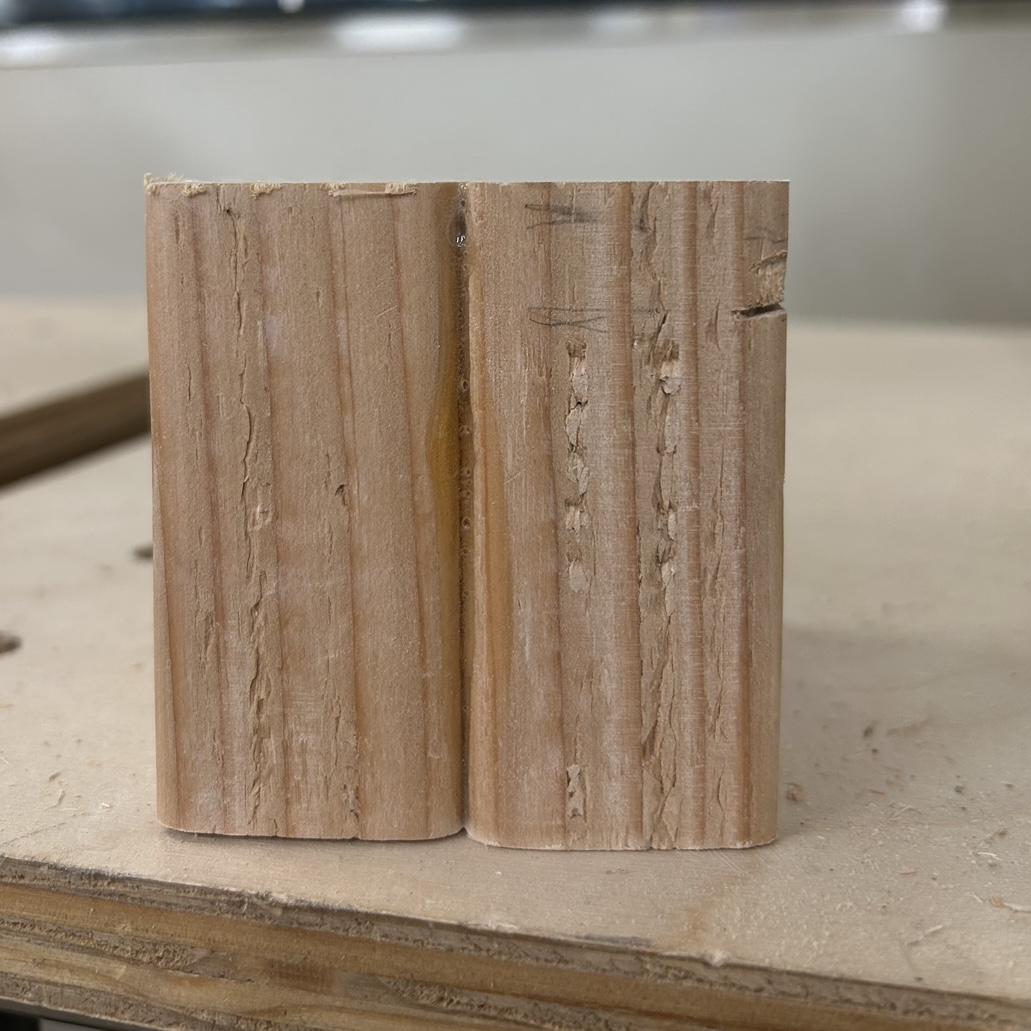
Before / After
Then, I started drilling holes. I made a block to go under it do avoid the splintering problem I had with the other wood.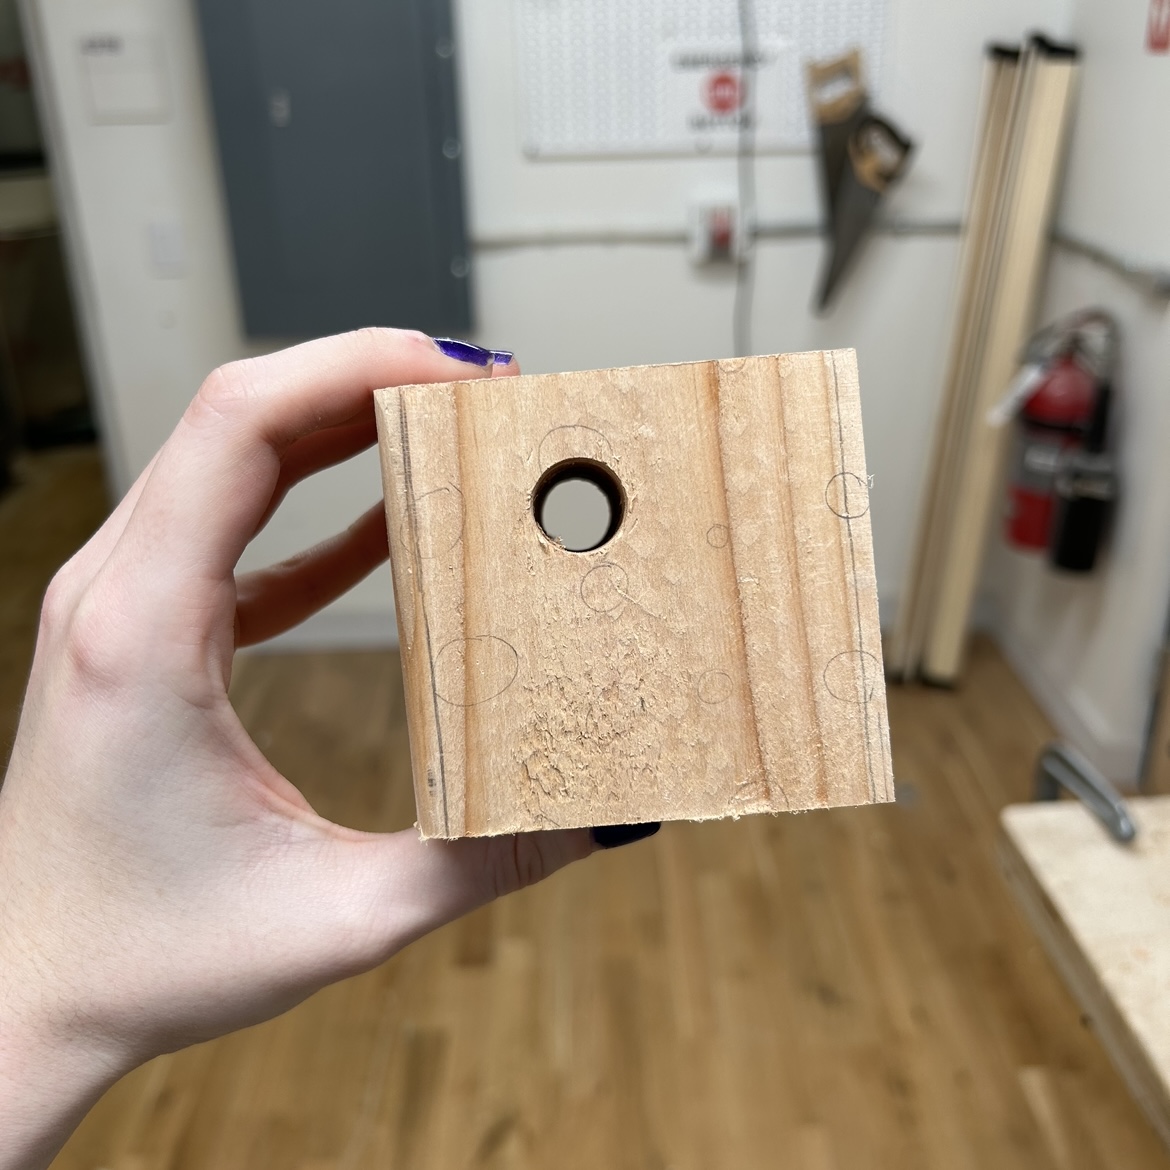


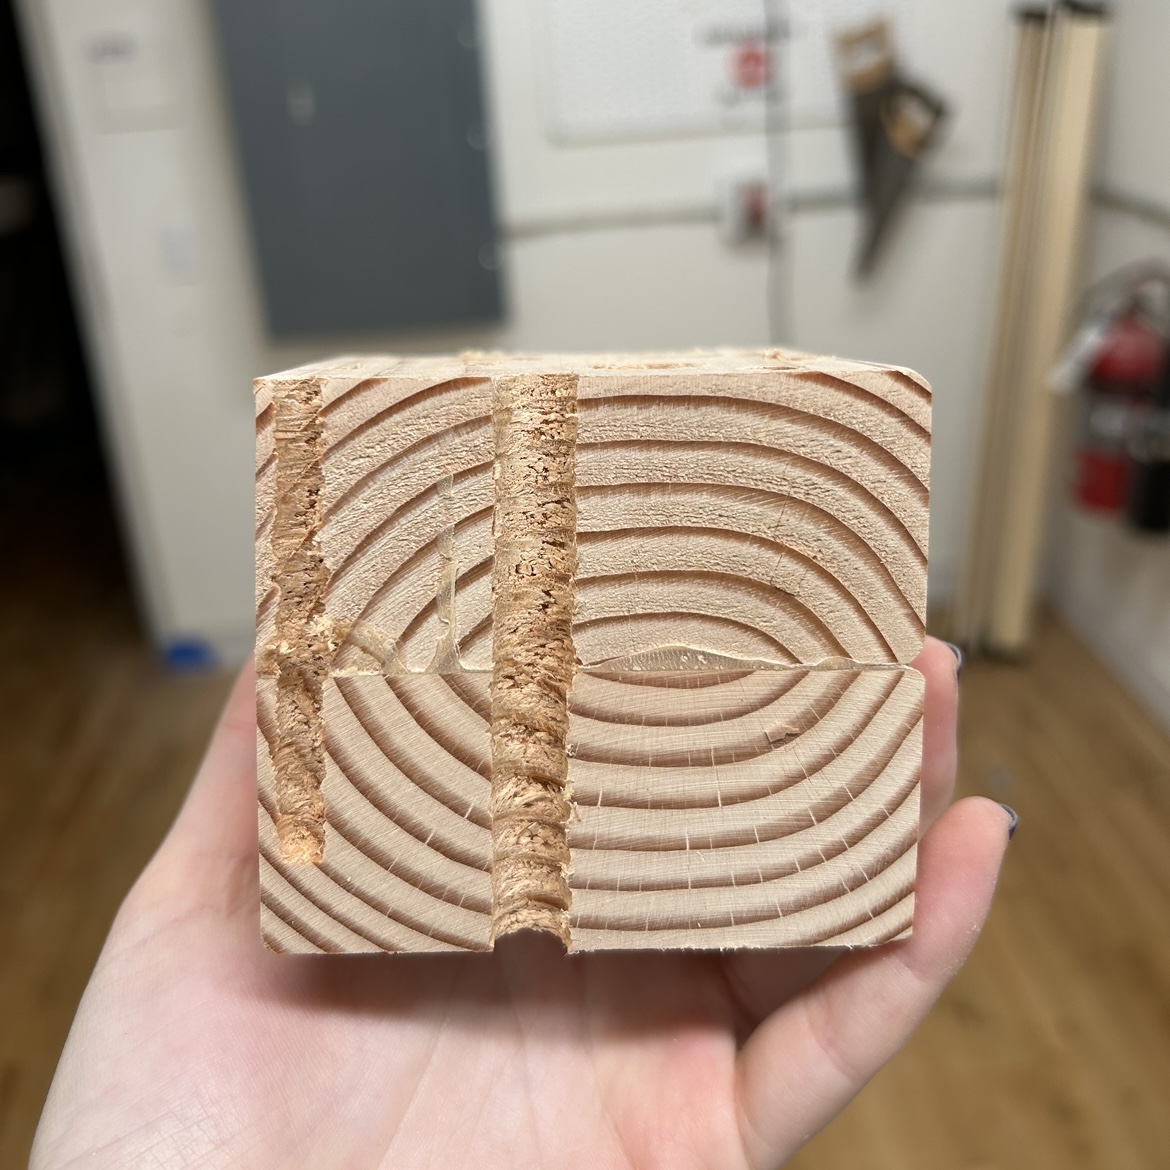

DAY 4:
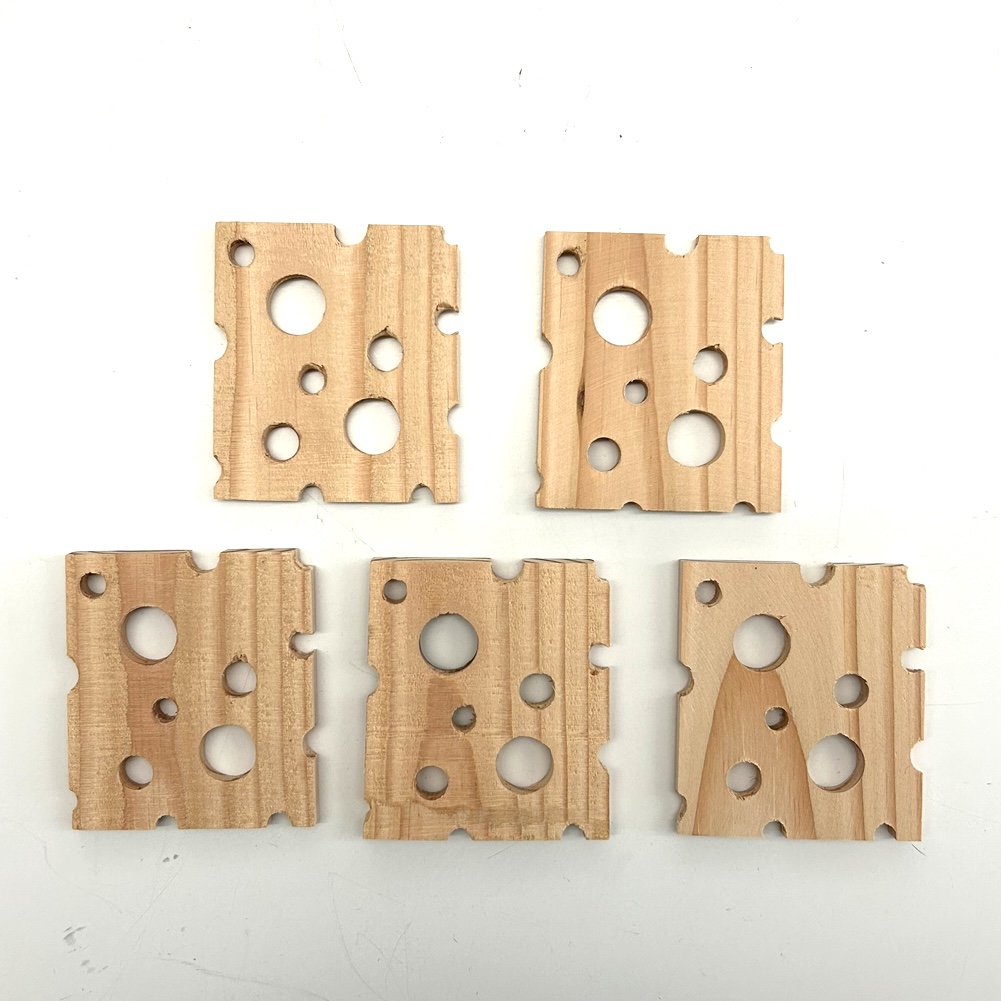
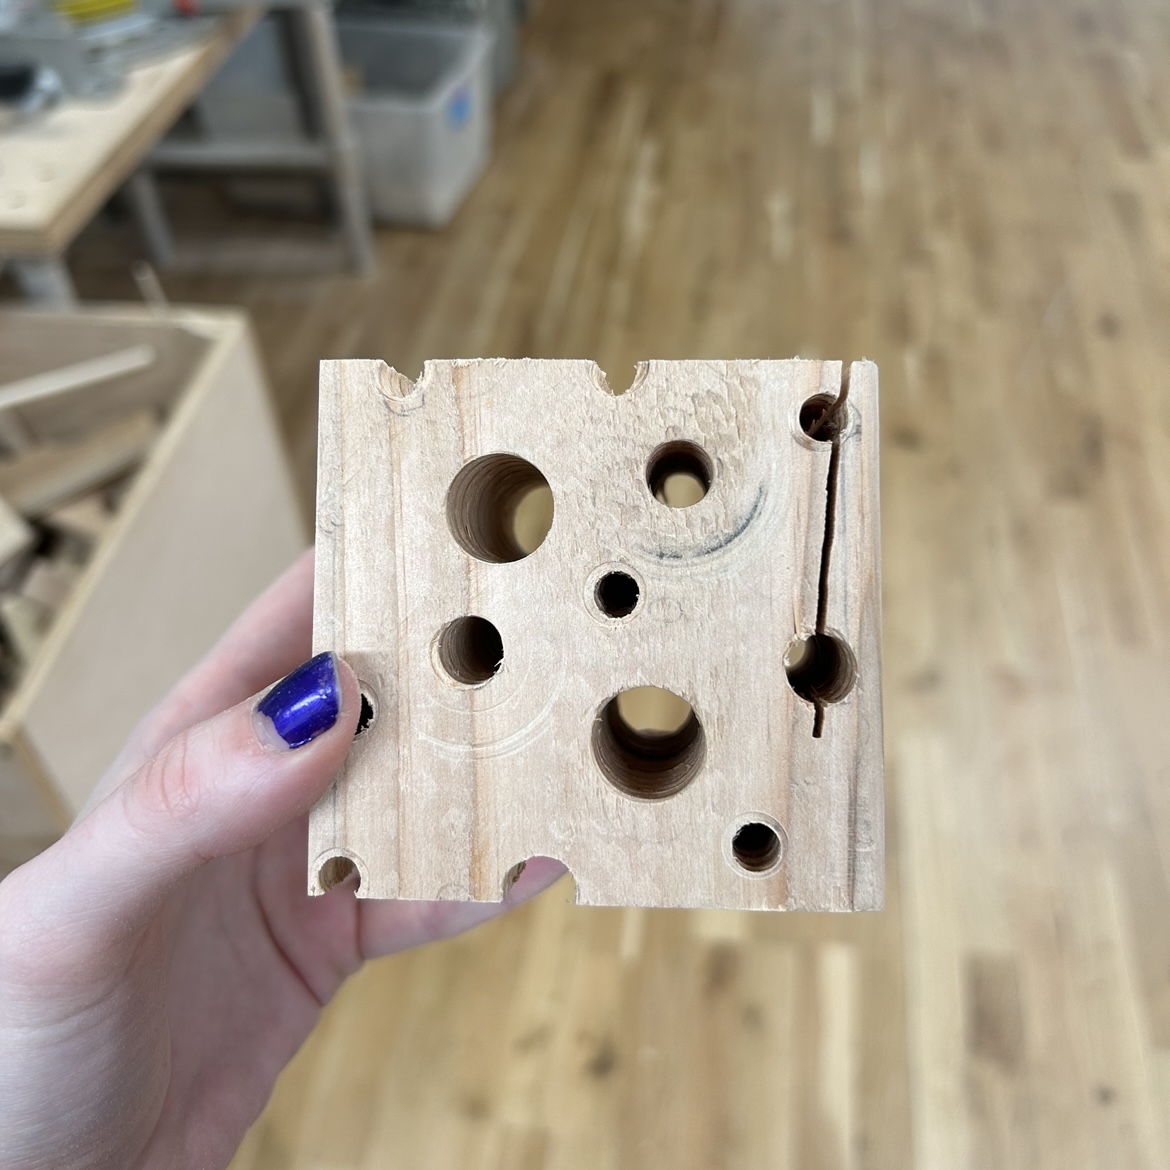
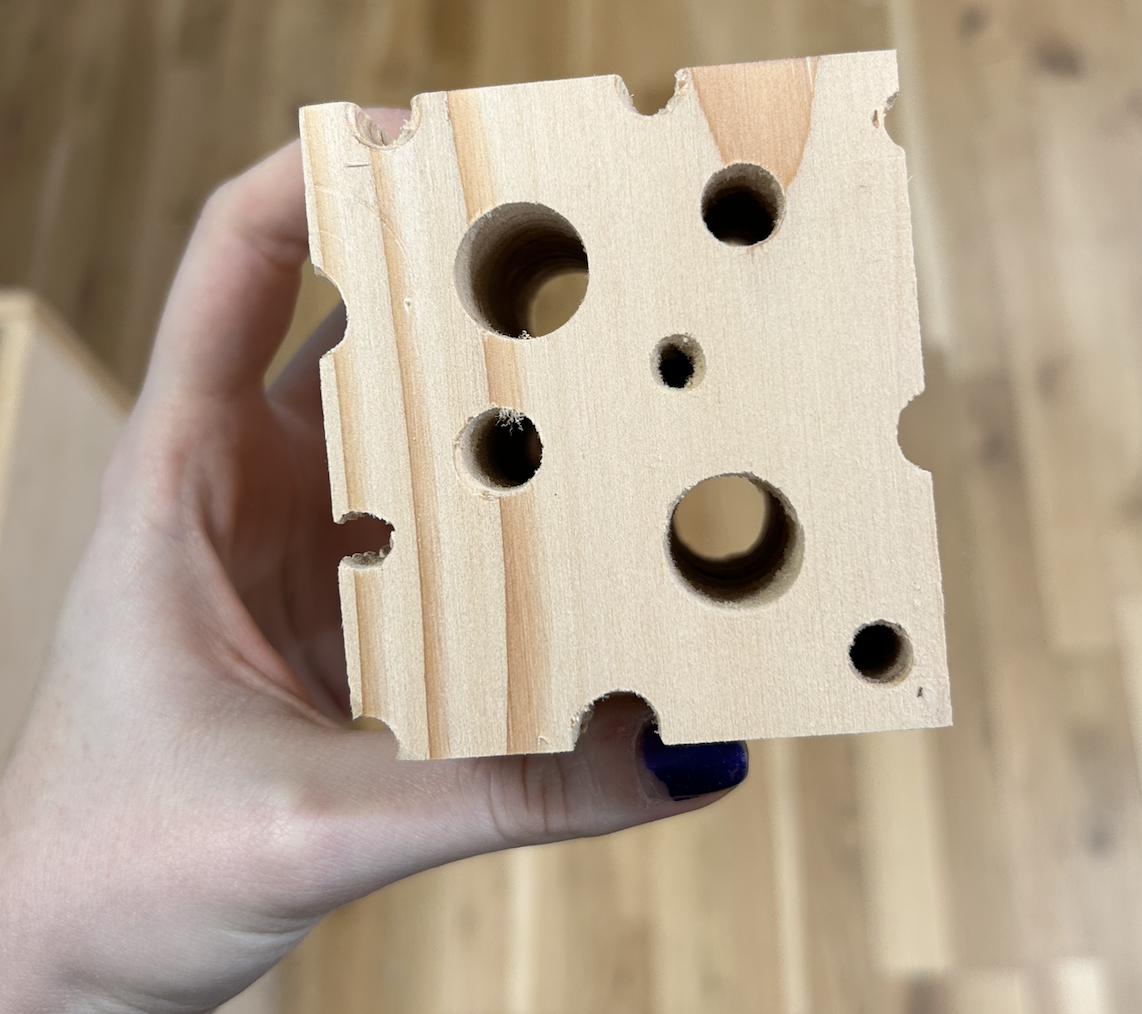
Done! Today I sliced up the block into 5 (mostly) equal slices. One of them got messed up (the blade started wandering like it did the other day but I think that was a problem with how I was applying pressure). I sanded them by hand using sandpaper and tried my best to even out the holes on the sides that ended up not being totally uniform. Overall, I’m happy with the result!

