WEEK 2
Lab: Digital Input and Output with an Arduino
This lab was helpful in getting a better understanding of how breadboards work. In taking apart and putting back together what we made in class, I was able to see how each wire makes up the entire product. In this lab, I connected a button and two LEDs, and used the code provided to make one LED turn off when the other one is on. In this part, I learned how to connect wires to the correct pins to ensure the data got from my computer to the LEDs and button.


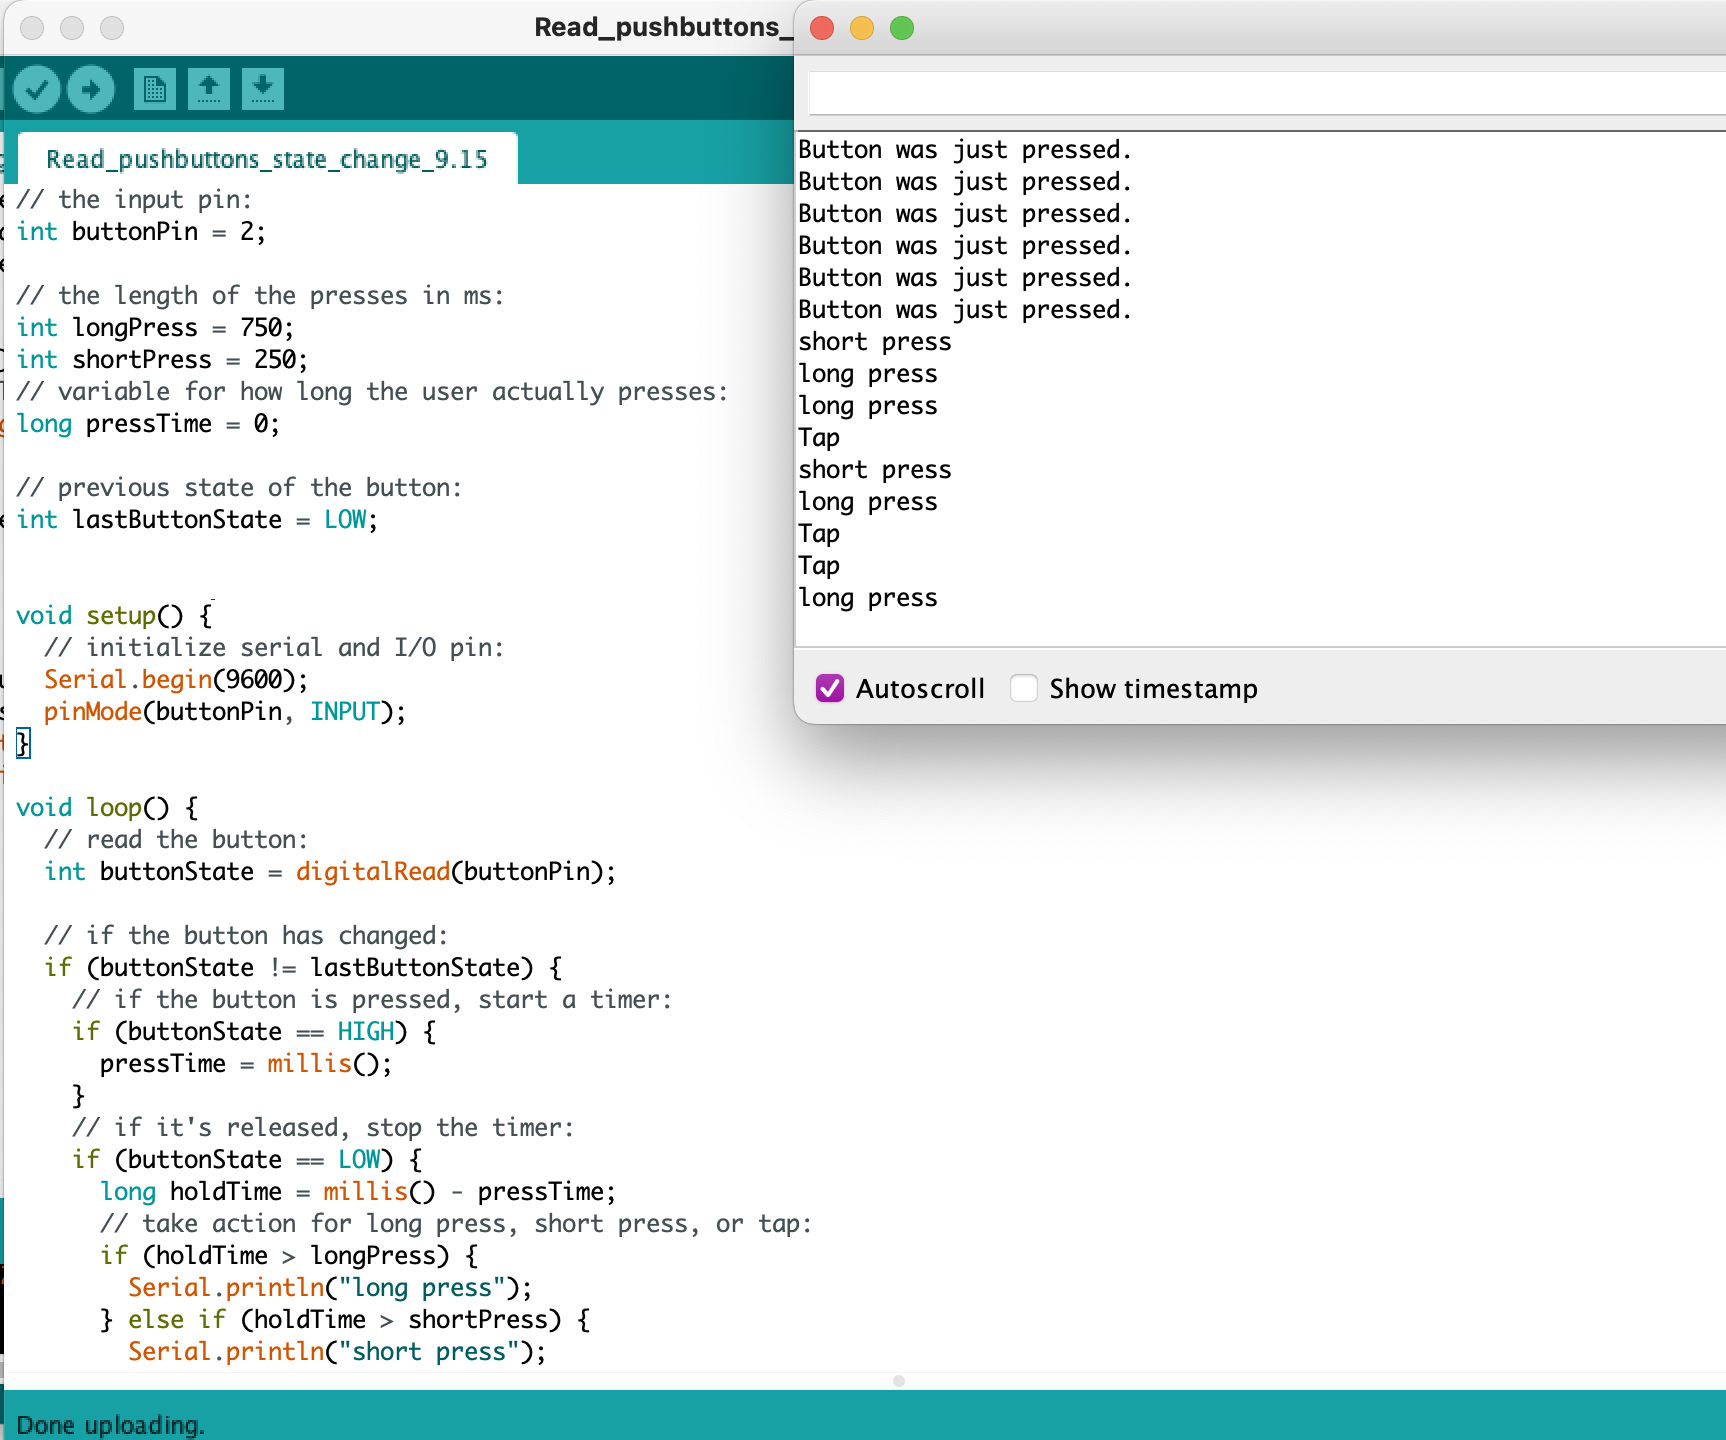
Monitor displaying when the button is pressed.

Using timers to print a tap/short button press/long button rpess
Lab: Analog In with an Arduino
It was during this lab that I decided to clean up my board a little but adding smaller pieces of wire in the places where I always put power & ground. It helped visibility and I was confused less
 .
. 
Using the potentiometer to control the brightness of the LED
Using sensors
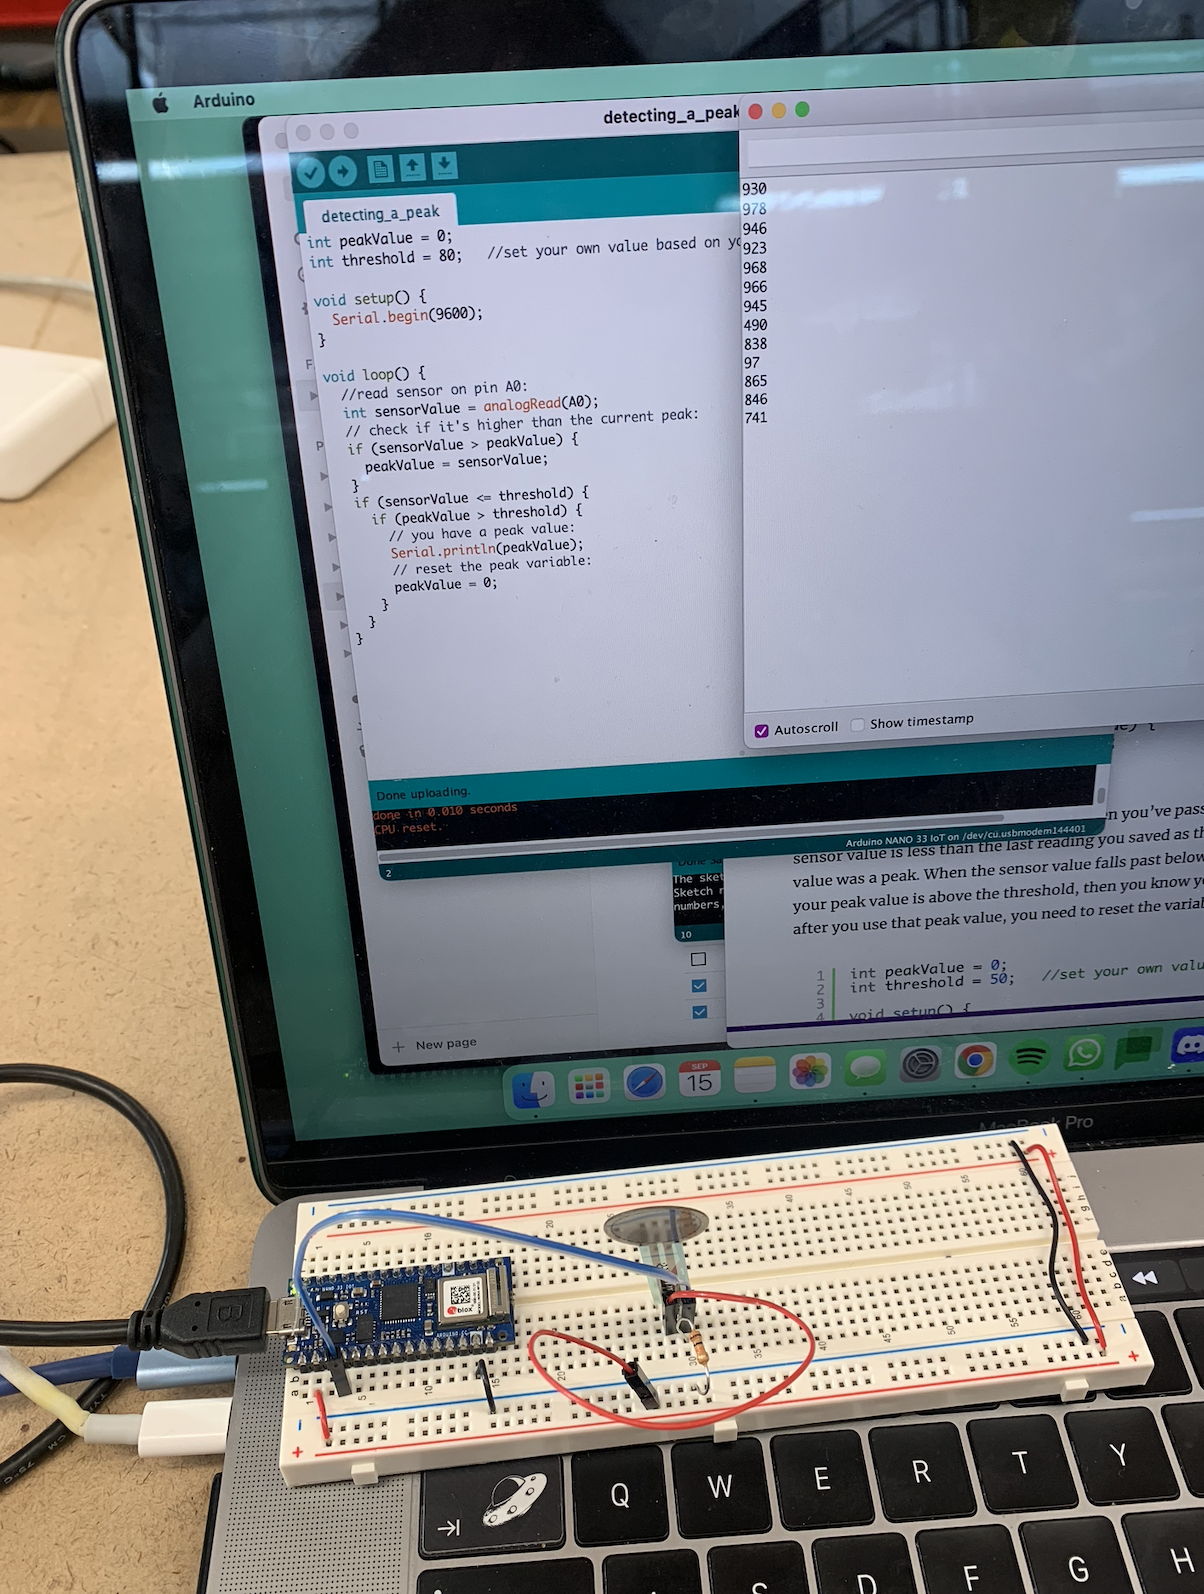
It was a little tricky getting the sensors to stay in place - they’re very delicate. I was glad that I cleaned up my board before this, so it was easier to place all of the wires and resistors. A problem I ran into during this part of the lab was ensuring that the pins I used for the wires connecting to the sensors were correctly referenced in the code. For a while I thought it wasn’t working because of incorrect text, or a faulty wire, but it was just that I needed to replace A0 for A2 in the code.


LEDs responding to pressure on the sensors

Monitor relaying if the threshold was crossed

Serial monitor displaying the peak value

