
WEEK 3
LINK TO HOMEWORK SKETCH
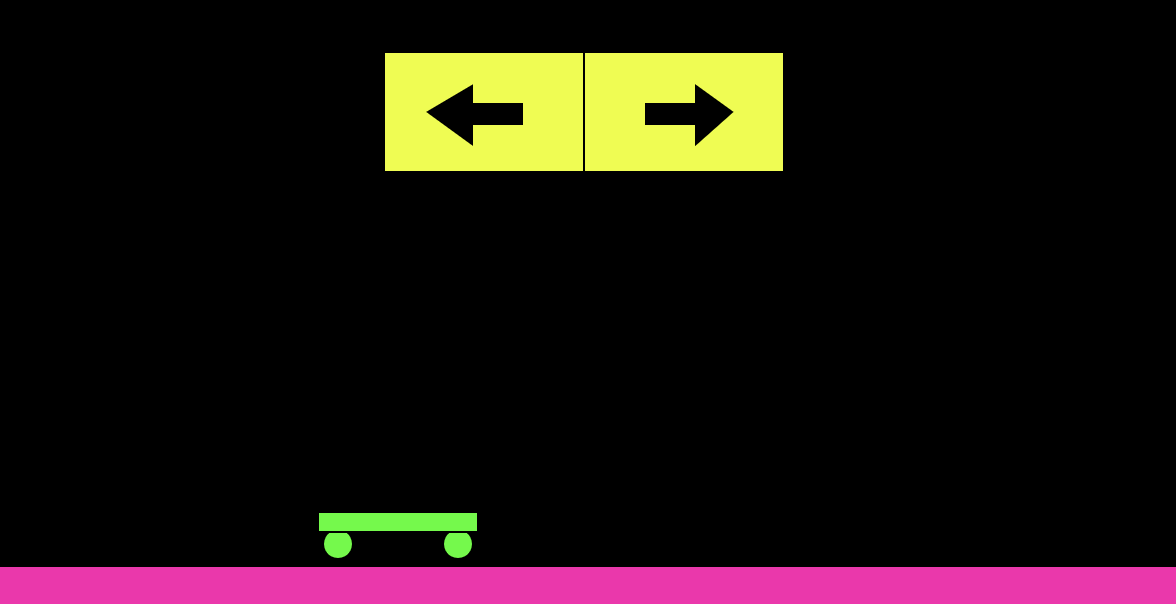
For this week’s homework assignment, I wanted to create a small game, inspired by vintage video game interfaces like PacMan or Space Invaders. I used neon colors on a black screen to replicate this. The hardest part was getting the buttons to work when they were hovered over, which I accomplished by using this code:
function mousePressed() {
console.log(mouseX, mouseY);
}
That way, I was able to click where I wanted the buttons to appear on the screen and, those coordinates appeared in the console.
Next, I wrote the code for the skateboard, made up of 2 circles and one rectangle. I set the X position to be a variable for each one, because to make it move back and forth, only the X value needed to be adjusted. I also created a variable called offset to be added or subtracted to make the skateboard move left and right.

I wrote two functions, moveLeft( ) and moveRight( ). In the moveLeft function I included an if( ){} statement that said, if the mouse was hovered over the left button, decrease the X position of the skateboard by 1, and the opposite for the moveRight function.

I also wrote a statement to change the color of the button when the mouse hovers over it.
The worksheet this week was difficult for me, I went to the ICM workshop on Thursday to get help, specifically with Question 2: Change the behavior so that when you mouse over a column, you turn it red and it stays red until the next time you mouse over it again, at which point the column goes back to white.
I knew the solution would incorporate saving the “state” of whether the column was red or not, to be able to save that as the current state, to be able to change the color.

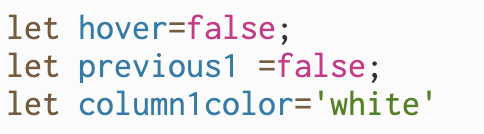
These are the variables I set up to begin. Hover = the mouse is hovering over the first column. previous1 = the previous state that the column was in. This was a weird concept, but I think I got the hang of it.
The final code that worked:
